

Hey guys, I have a really fun tutorial for you today! It’s inexpensive, modern, and it involves succulents! Are you as excited about this as I am?!
I love creating tutorials for DIY imitations of expensive-looking items. I’ve seen concrete planters similar to this at West Elm and Restoration Hardware for $50+. I spent less than $10 on all of the reusable supplies, and the actual planter costs about $1 to make! Just. One. Dollar. I’m convinced that concrete is the cheapest DIY material that you can find to work with. This may be the cheapest knock-off ever!
My husband, Drew, and I collaborated on this project. We both really like the modern-industrial look, and concrete pieces are the perfect thing to bring the industrial feel to your home. Concrete decor is totally on trend right now, Etsy even listed it as one of the 5 Hottest Home Trends of 2015. (This isn’t the first time that we’ve created a concrete project on Hello Homebody, for more concrete decor inspiration, take a peek at our Industrial Concrete Spheres and our Concrete Tea Light Candle Holders.)

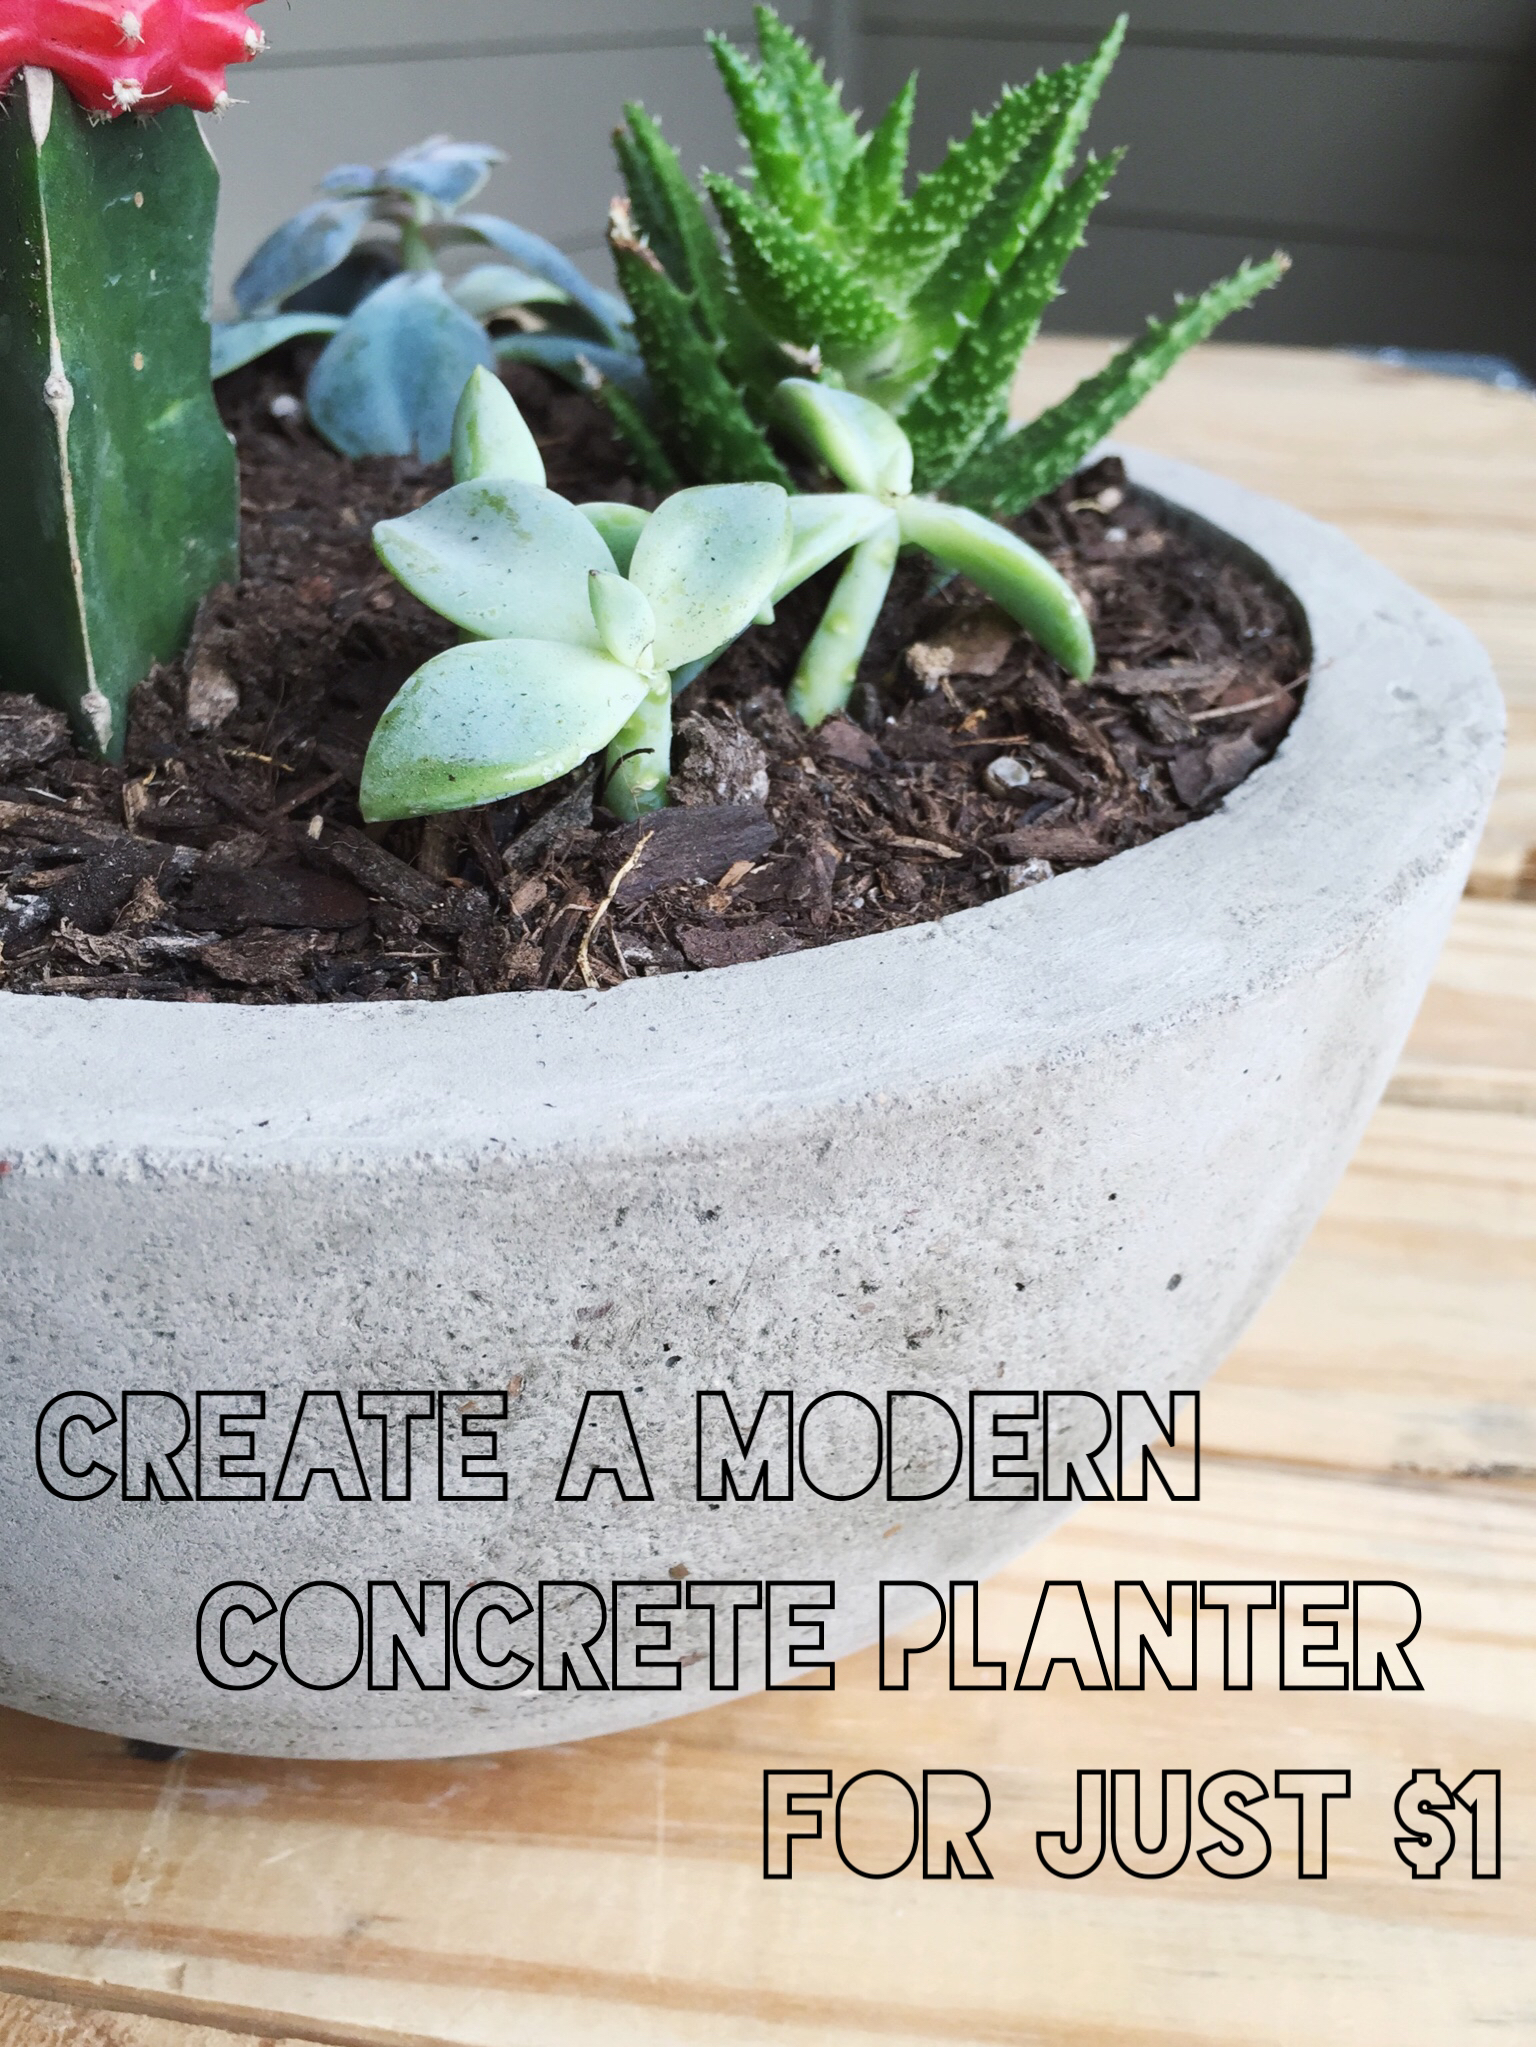
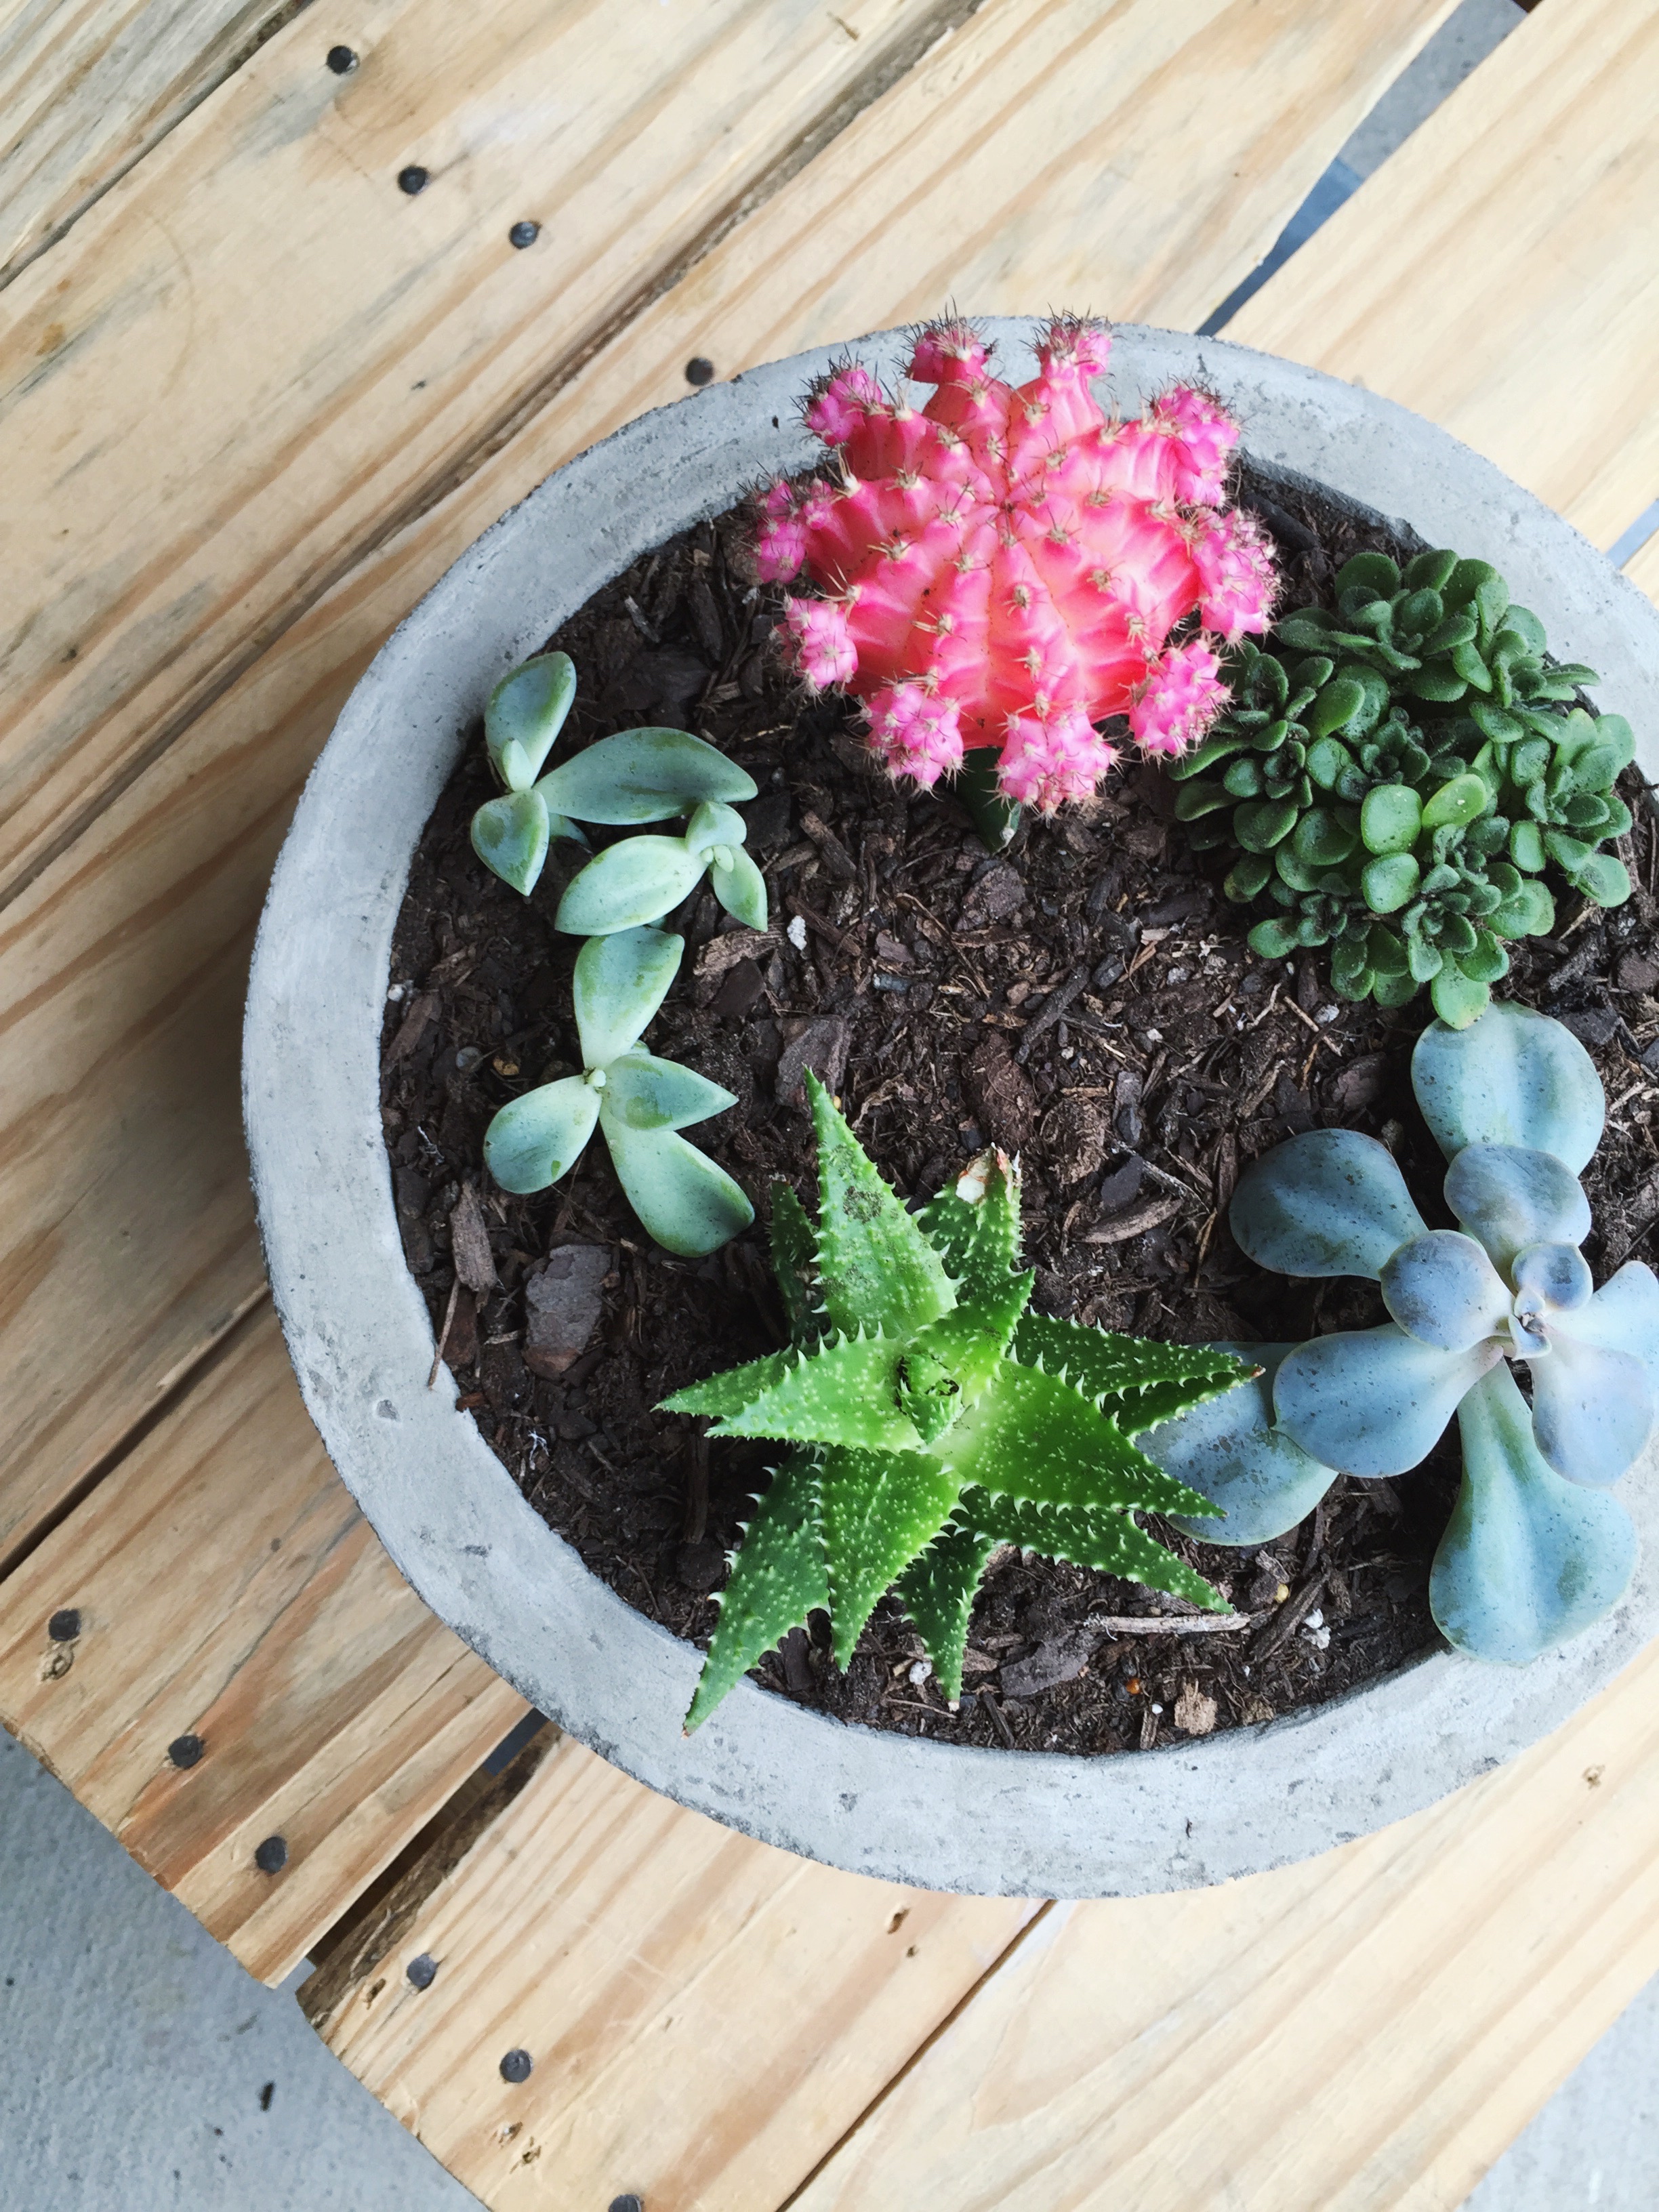
I can’t get over how pretty these little plants are! Succulents are my favorite and this planter is a modern way of incorporating them into your home. They add a fresh pop of color to home decor, succulents have to be the easiest kind of plant to keep alive, and they totally remind me of Spring!
You can place this concrete bowl planter on a coffee or side table, or use it as a dining table centerpiece, it can be made in any size to fit wherever you’d like.

DIY Modern Concrete Bowl Planter
what you’ll need, the basics:
- 2 plastic nesting bowls (I found a cheap set at Walmart)
- concrete mix* (and water)
things you may already have:
- non-stick cooking spray
- bucket (for mixing concrete)
- wooden spoon (for mixing concrete)
- fine sandpaper (optional)
you’ll also want :
- succulents
- potting soil (I like to use soil designed for cactus plants)
- pebbles (to provide drainage in the bottom of your planter)
- Pour some of the dry concrete mix into a bucket, add water and mix until the wet concrete has the consistency of a milkshake. Make sure that you have mixed enough concrete to complete your project (layering on a second batch of concrete may affect the durability of the finished product).
- Use non-stick spray to lightly coat the inside of the larger bowl and outside surface of the small bowl.
- Pour the concrete mix into the large bowl, then place the smaller bowl inside. Press the smaller bowl down into the concrete, centering it. Gently tap the bottom of the larger bowl against the ground to bring any air bubbles to the surface. If the small bowl begins to float on the concrete mix, keep it weighed down by filling it with dry concrete mix or pebbles.
- Let the concrete bowl sit and dry. I waited for almost 24 hours before gently removing the plastic bowl from the center. The concrete still had a wet look to it, and non-stick spray had pooled on the surface, but the concrete had set. I let the concrete sit in the large plastic bowl for several more hours. Then, I placed the small plastic bowl back into the center and gently turned the whole thing upside down to rest on the rim of the small plastic bowl. I carefully manipulated the large plastic bowl until I was able to release the concrete planter.
- Set your concrete planter in a warm and dry place and let the bowl dry out completely. I let my planter sit and dry for several days. You’ll notice that the color of the concrete has lightened considerably when dry.
- If you’d like, after your planter has dried completely, use sandpaper to lightly smooth the rim of the bowl. Then layer in pebbles, soil, and plants!
* We used a basic, just-add-water concrete, which is not quick-drying. Check the directions on your concrete mix package and alter the above directions, if needed.


Facebook // Etsy // Pinterest // Instagram // Twitter // Bloglovin’

Will be trying this.
Nice job, will try this soon. Thank you
Wow really that’s great.. will try this
I’m LOVING this!!!
I seen this before but it wasnt made all concrete. the person added potting soil &/or perlite also. experiment…& share. Thank you!
I made several and about a week after putting soil and plants in the pot – they cracked. I was told that you have to cure the concrete slowly. One method I tried on my second batch of pots was to submerge them in water for about a week after I demolded them. Those did not crack. I am in Texas so the heat may have been factor on my first batch and they cured to quickly. Anyone else have their concrete planters crack?