

I’m so excited to be back with a new ornament tutorial, just in time for Christmas! I recently came across a tutorial where Rit dye was used to dye wood and I really wanted to give it a try. I love the results! The dye works like a wood stain, so that you can still see the wood grain.

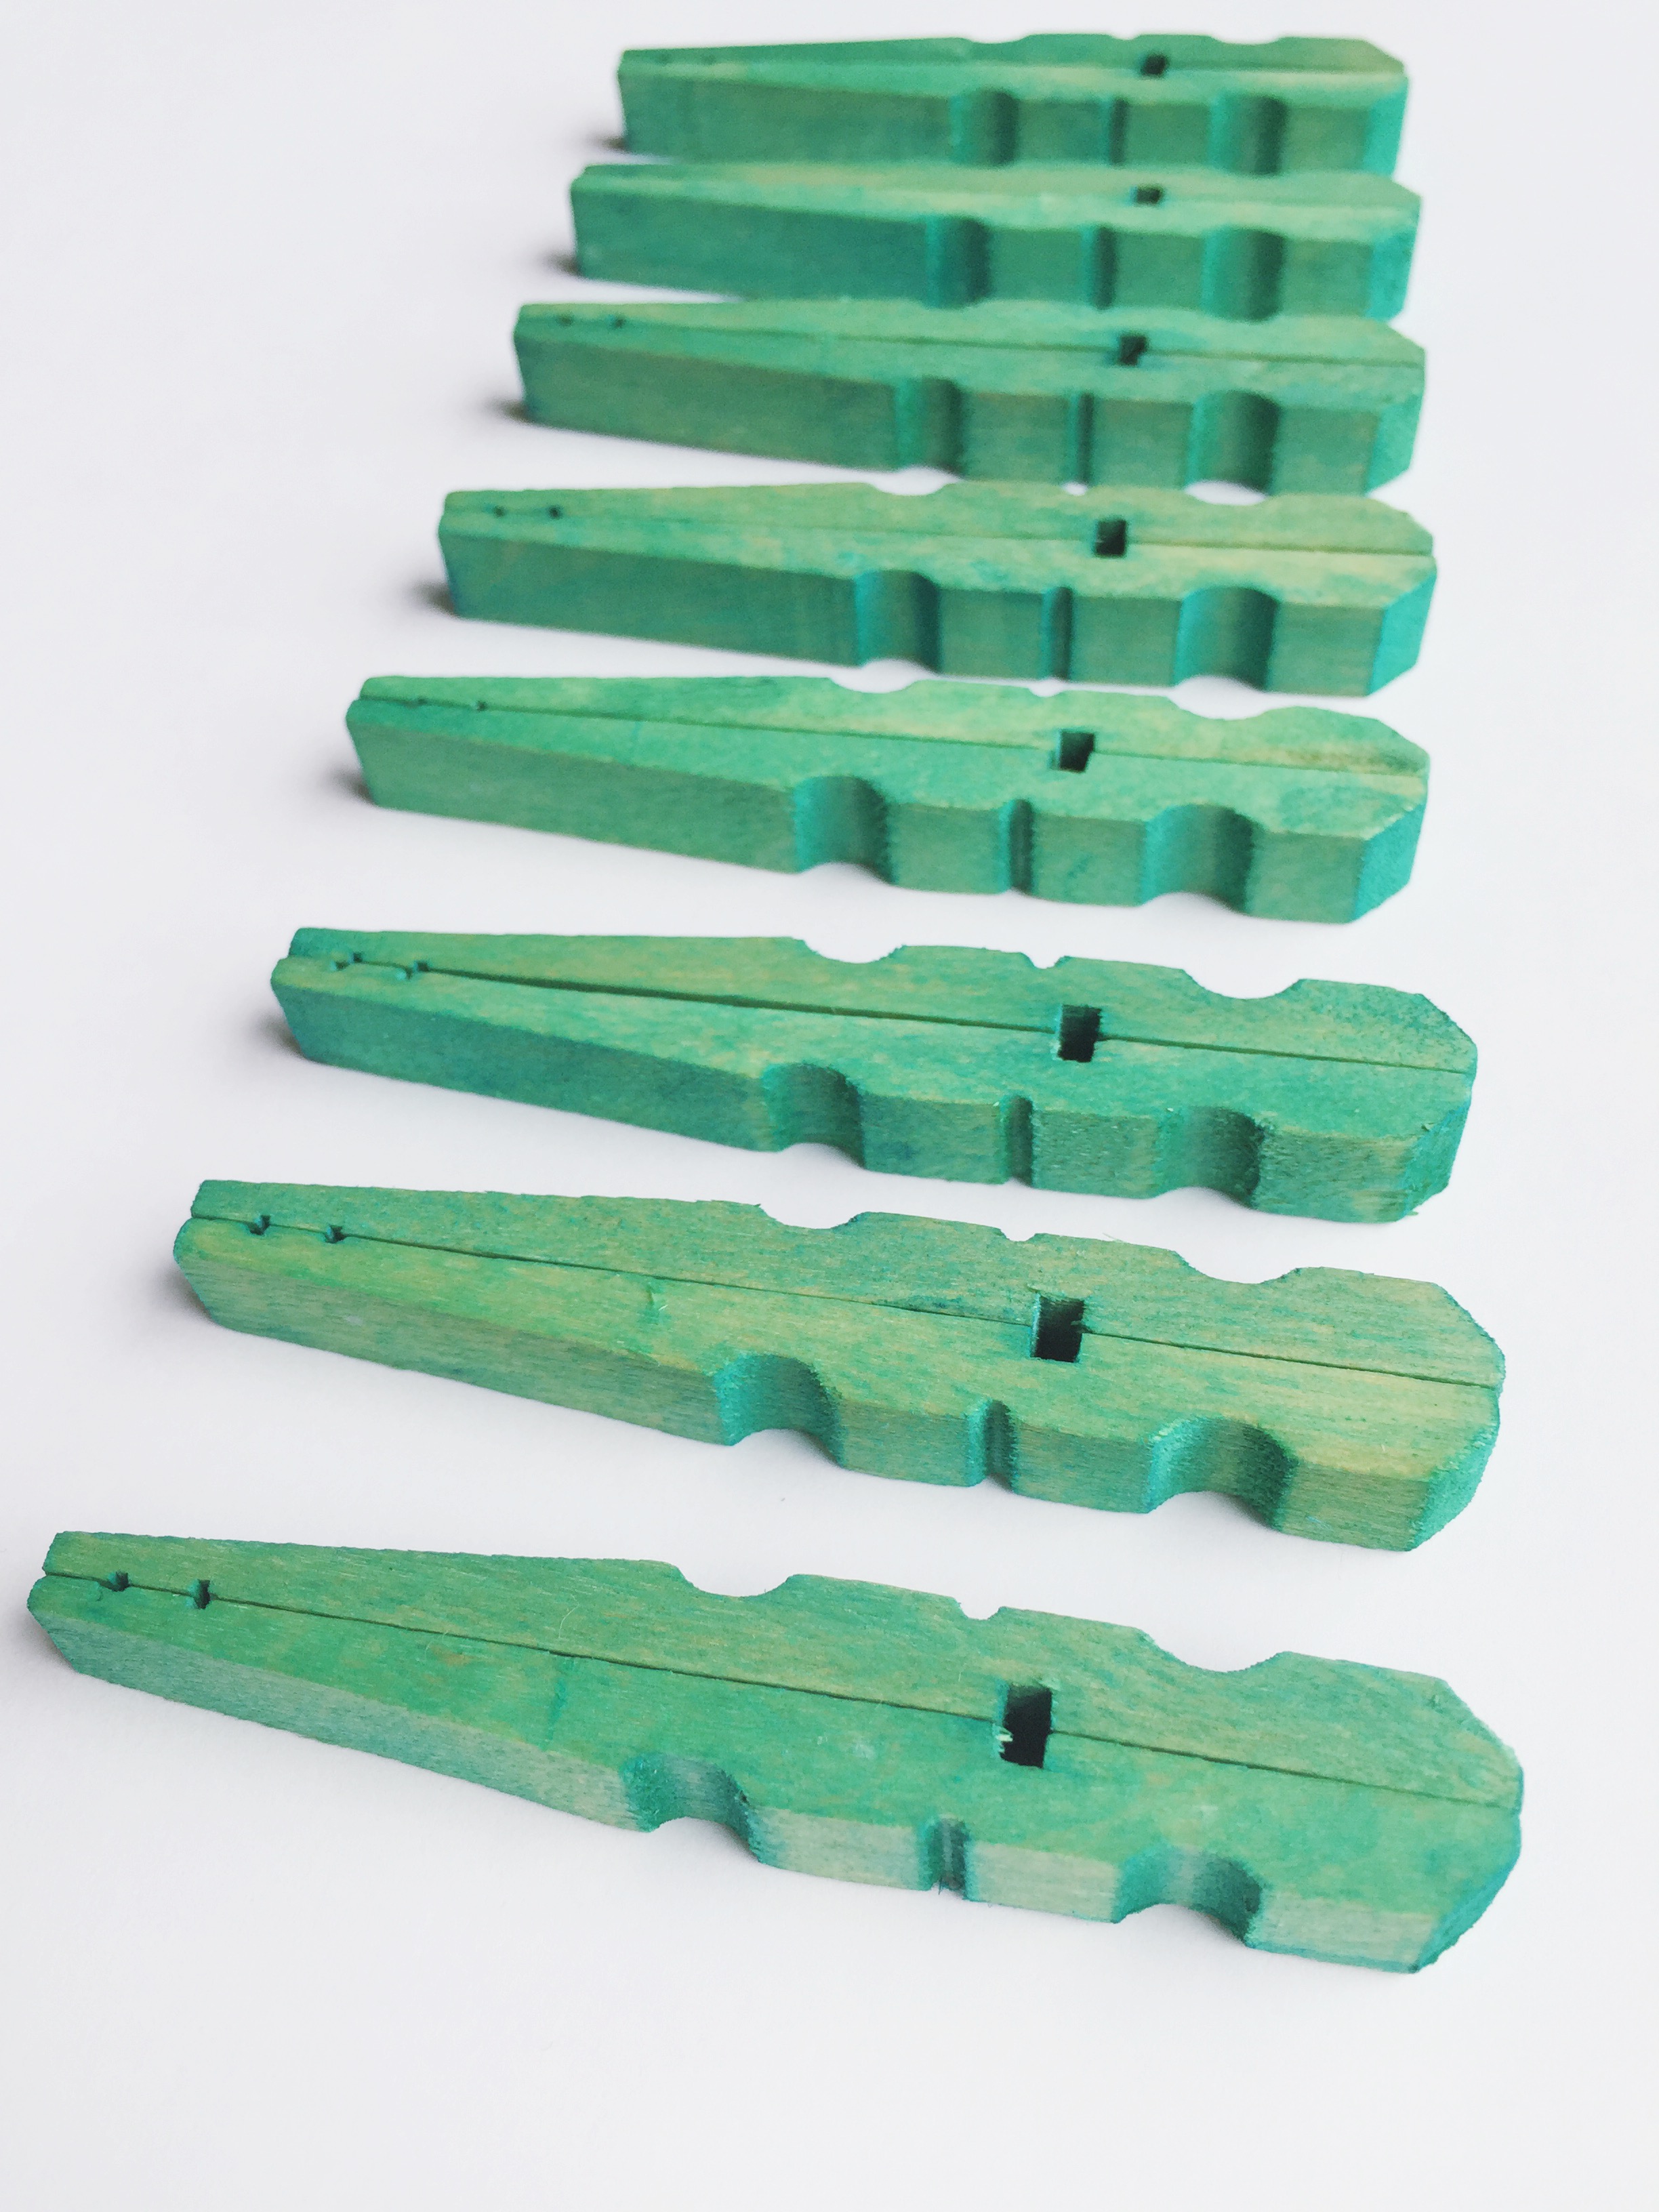
I’m using aquamarine dye for this project. I was really looking for a light blue shade, but the natural yellow tones of the wood do show through, turning this shade into more of a teal – something to think about when you’re choosing the color of your dye!
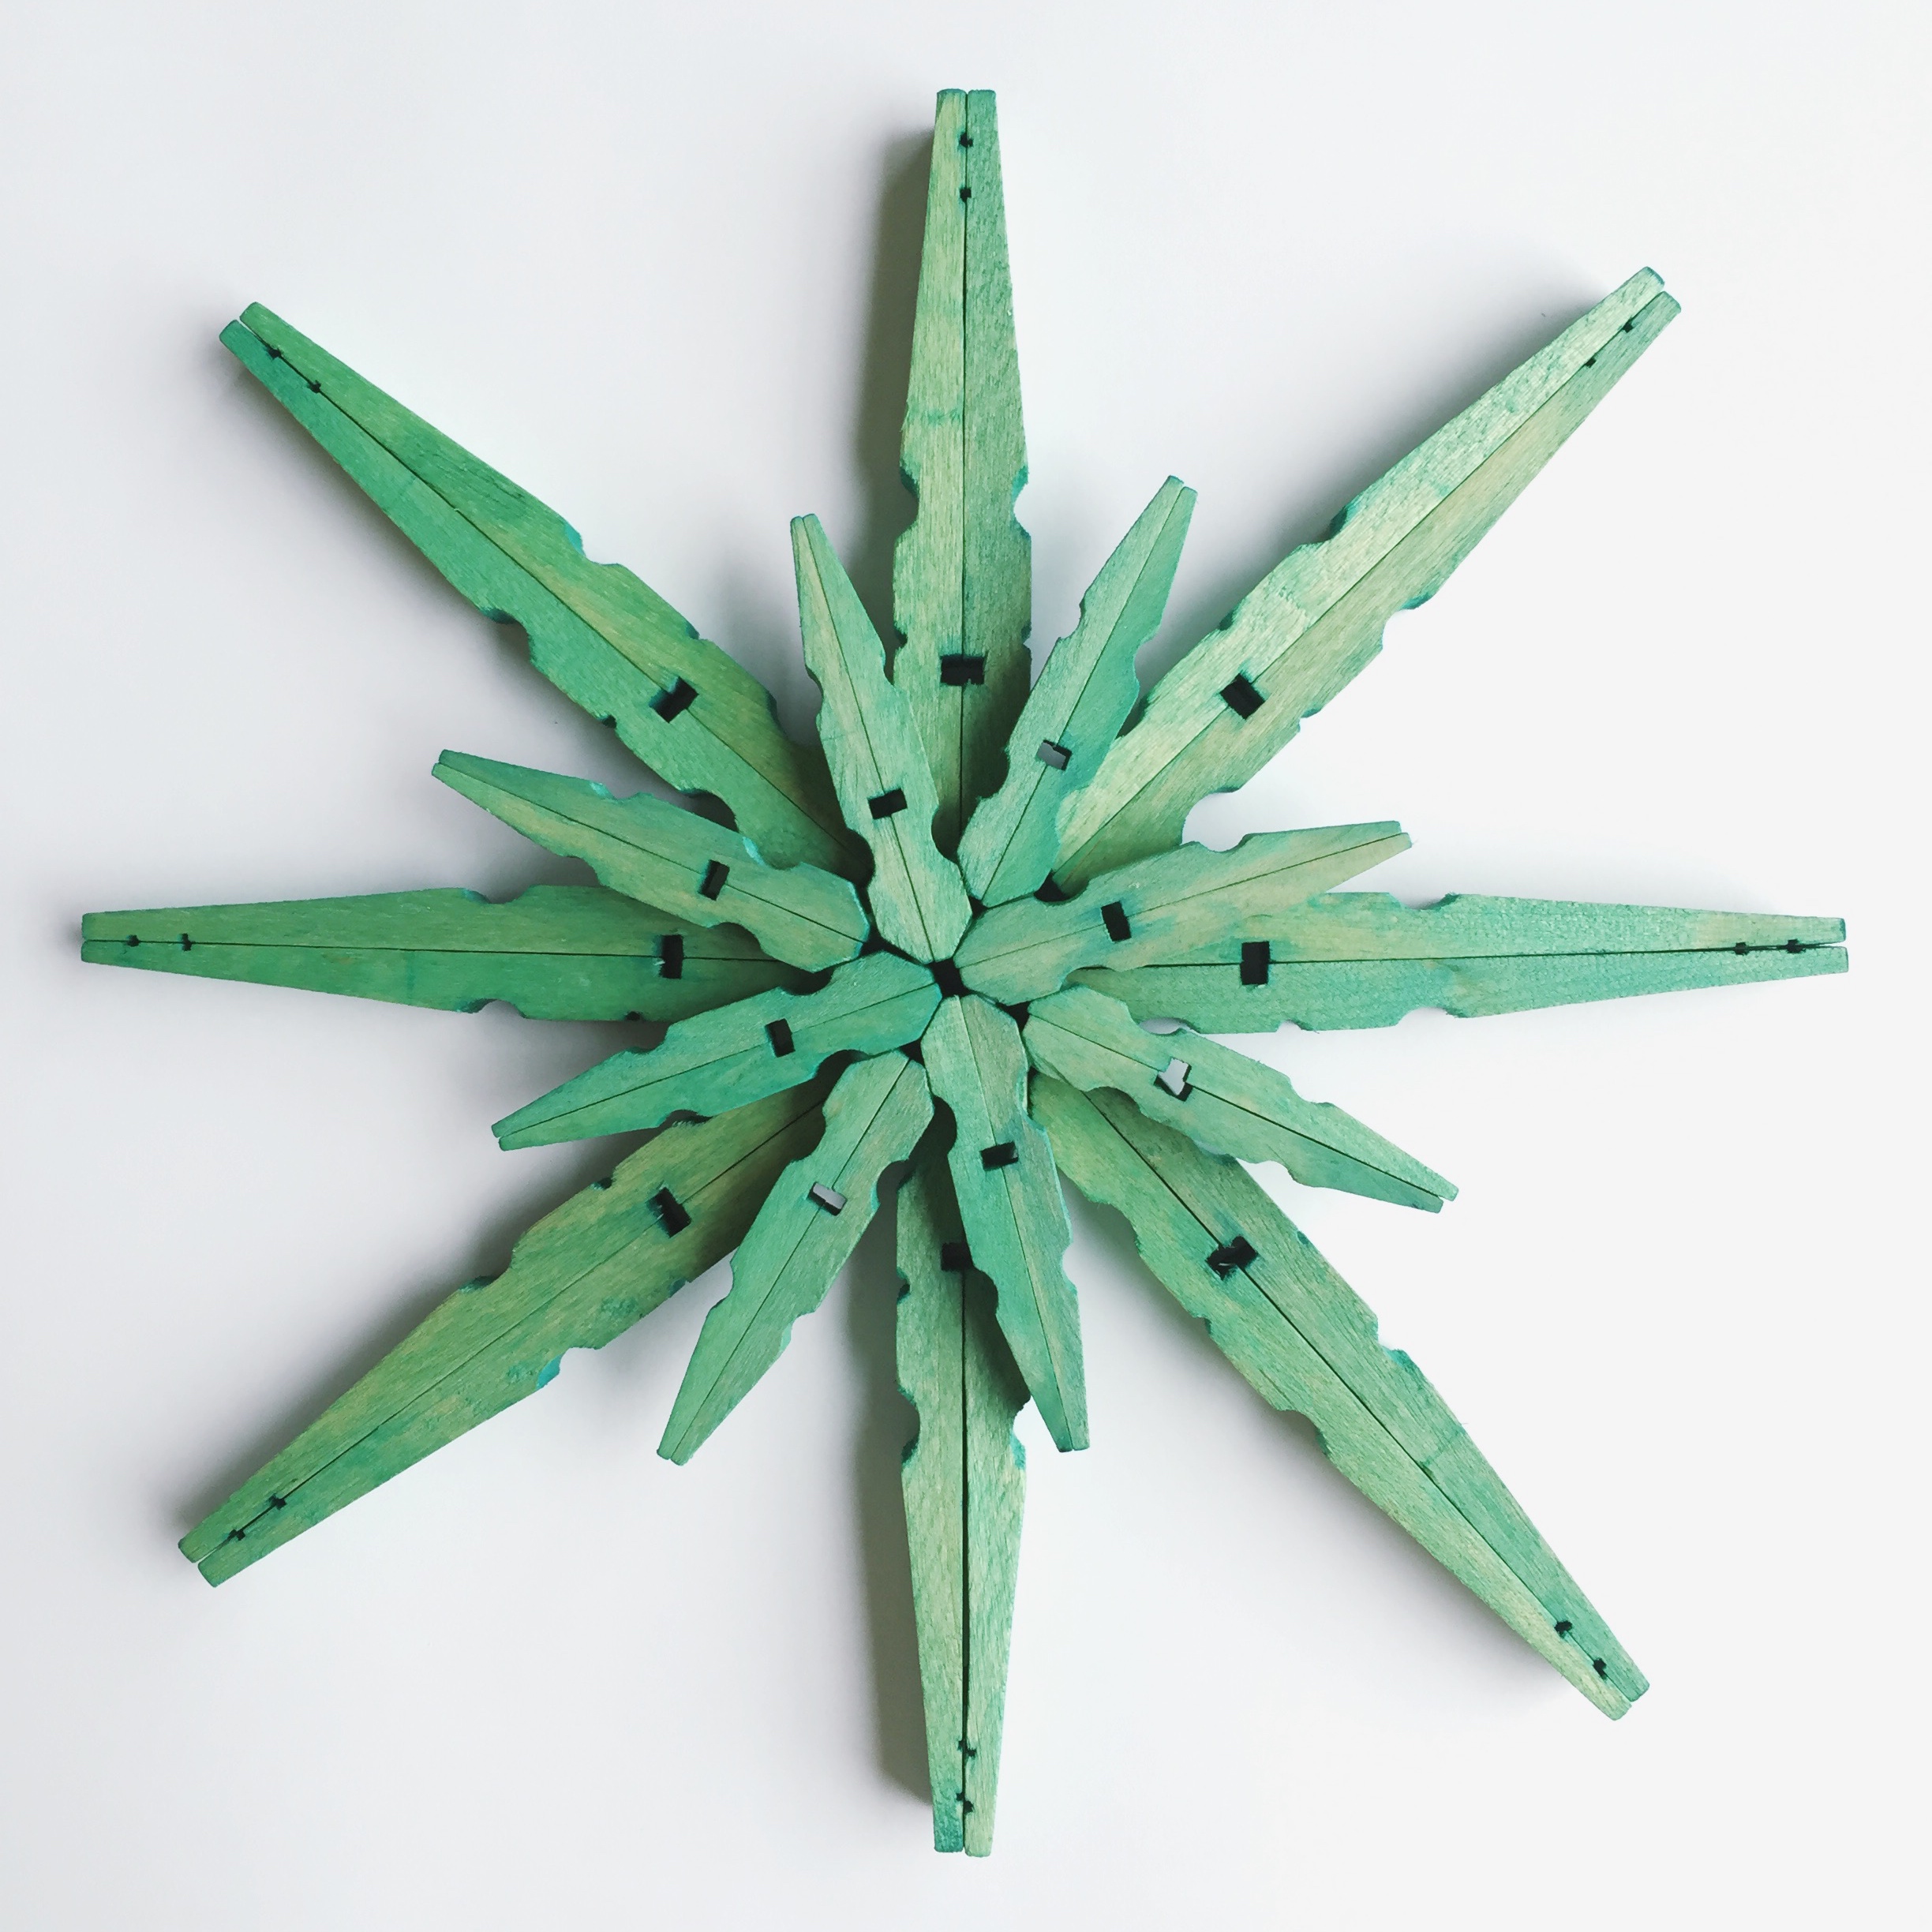
Dyed Clothespin Snowflake Ornaments
- Wooden Clothespins – any size – (8 clothespins are needed for each snowflake)
- Rit Dye
- Aleene’s Tacky Glue or Hot Glue
- Container for dyeing clothespins
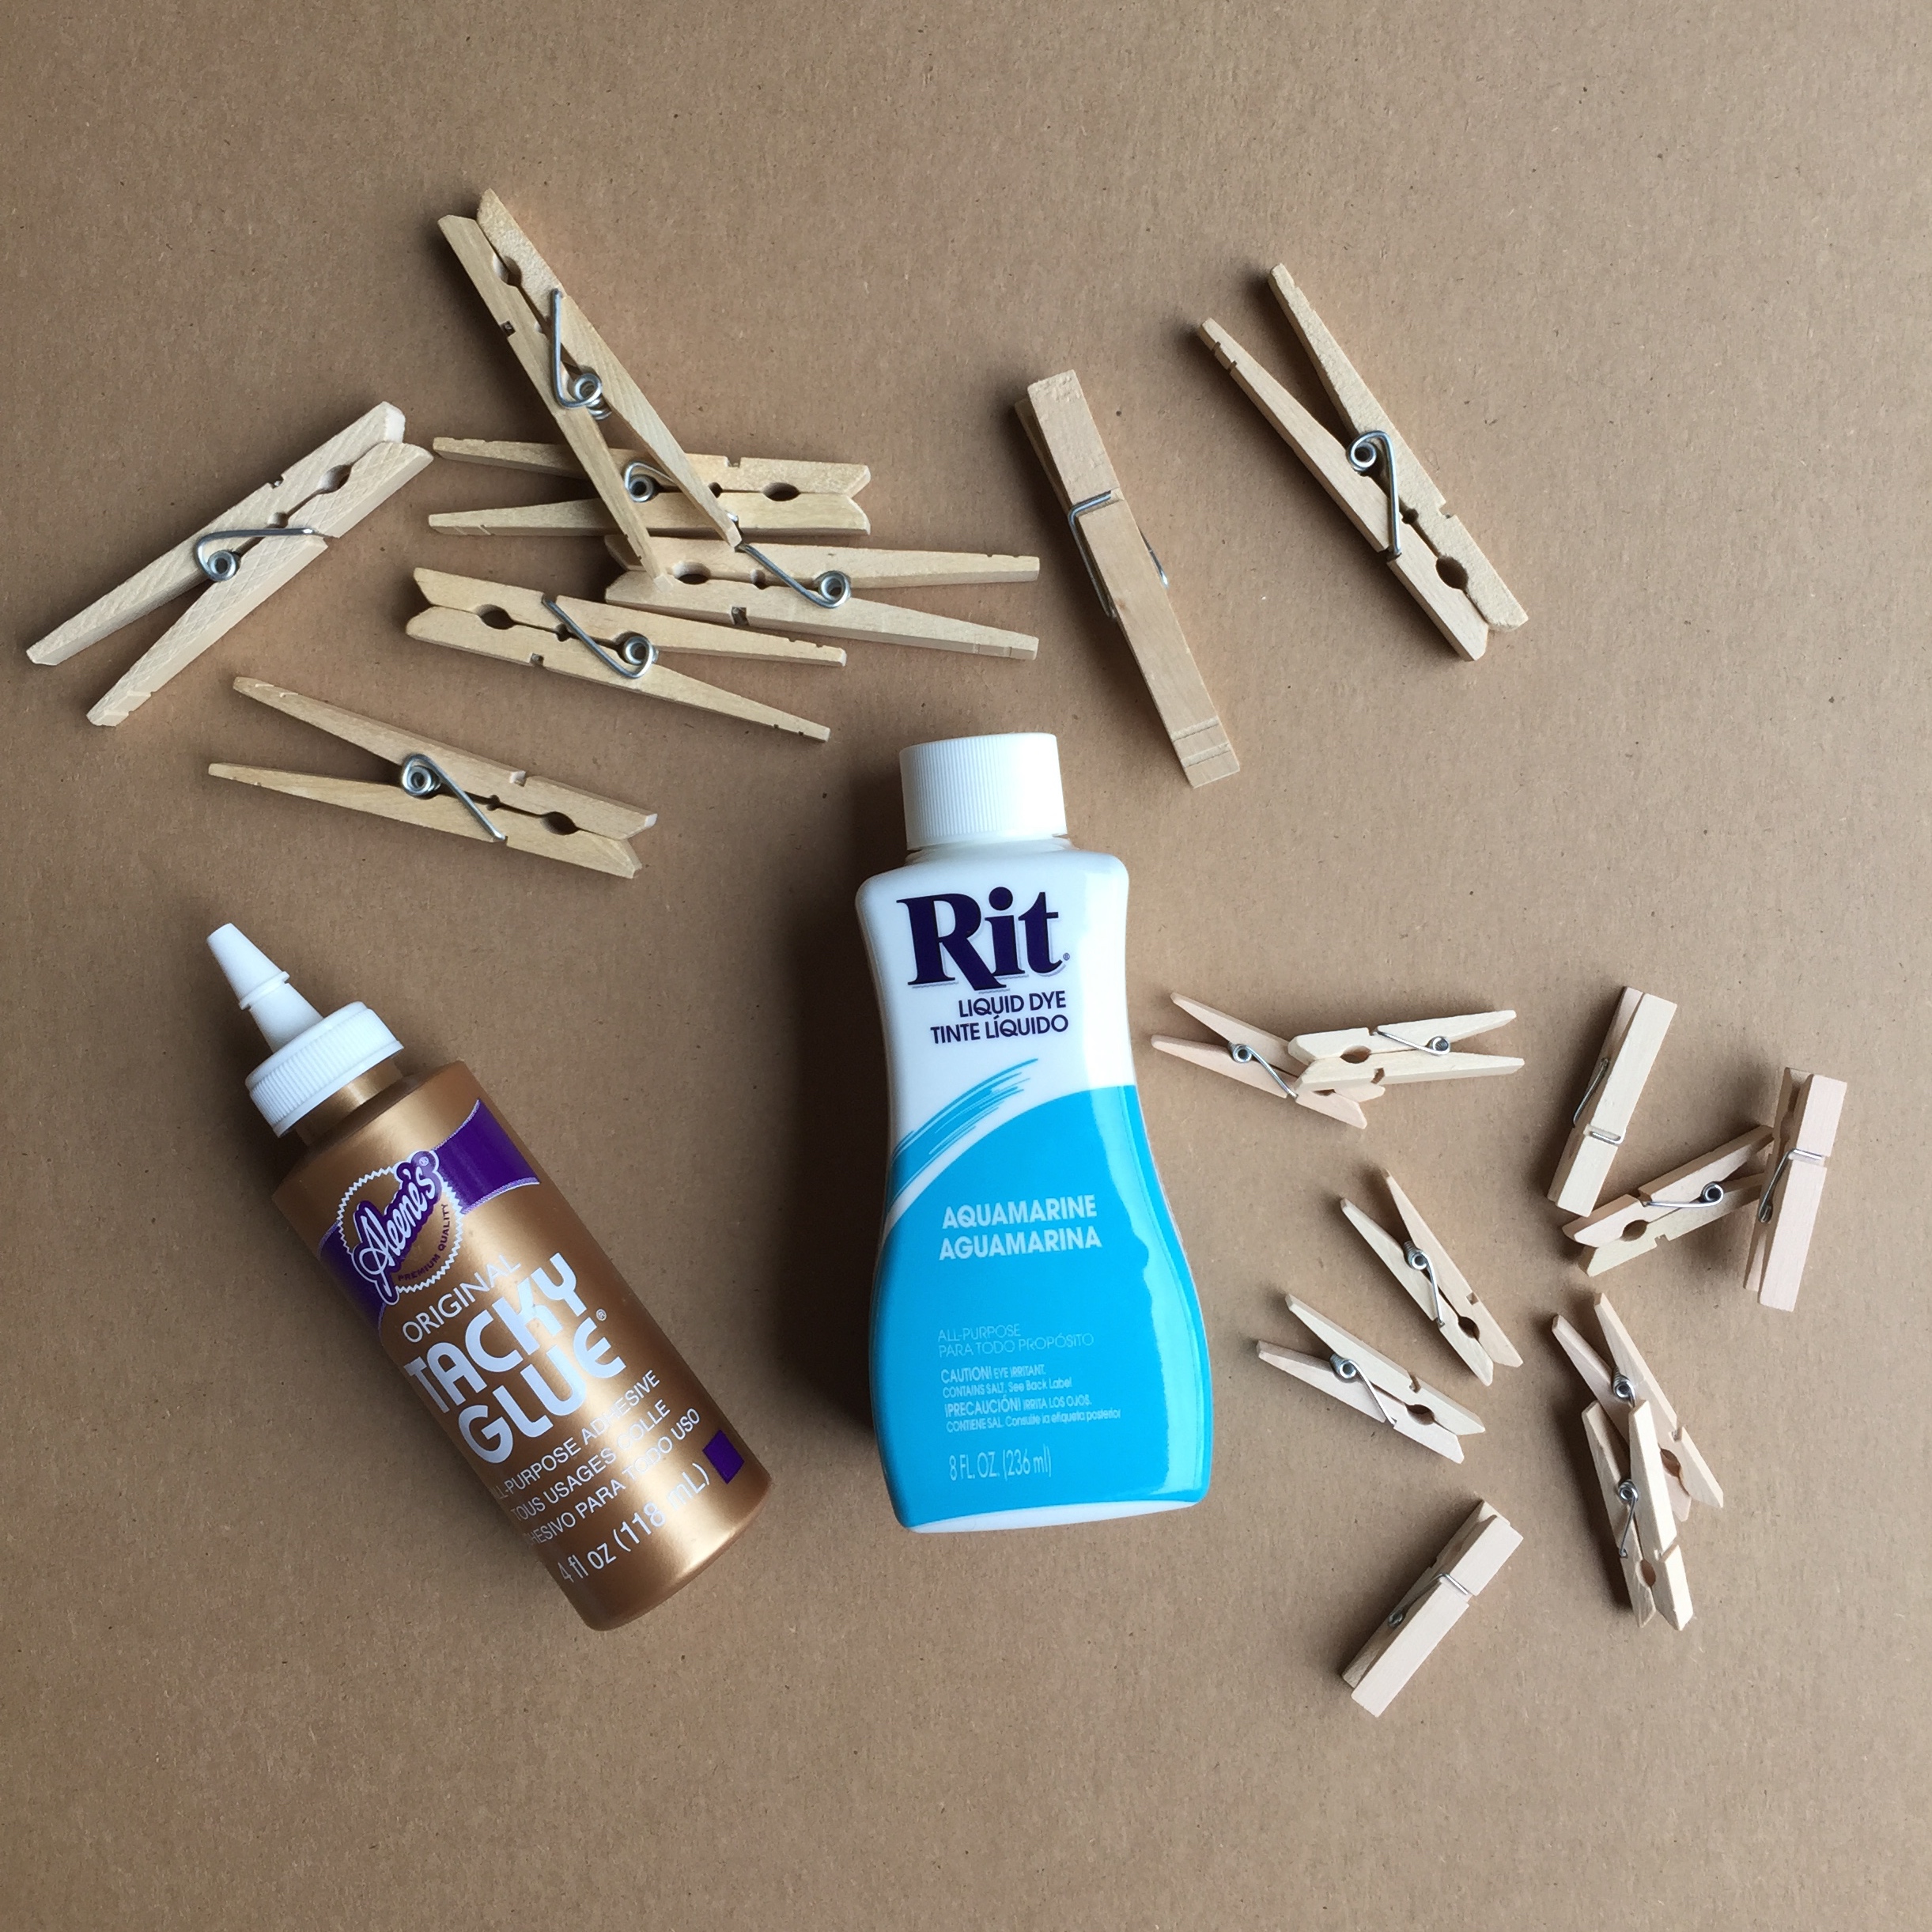
Start by taking each of your clothespins apart, so that you have two separate wooden pieces.
***Let me just say that this dye will stain anything that it comes into contact with, so proceed with caution and try dyeing the clothespins outdoors if possible! Also, wear gloves for this project if you don’t want to wait several days for the dye to wear off of your hands.*** Carefully pour the Rit dye into your container of choice. I used one bottle of the liquid dye (you could use the powdered dye instead, follow the directions on the package to hydrate the dye). I then re-filled the dye bottle with water and added that to my dye.
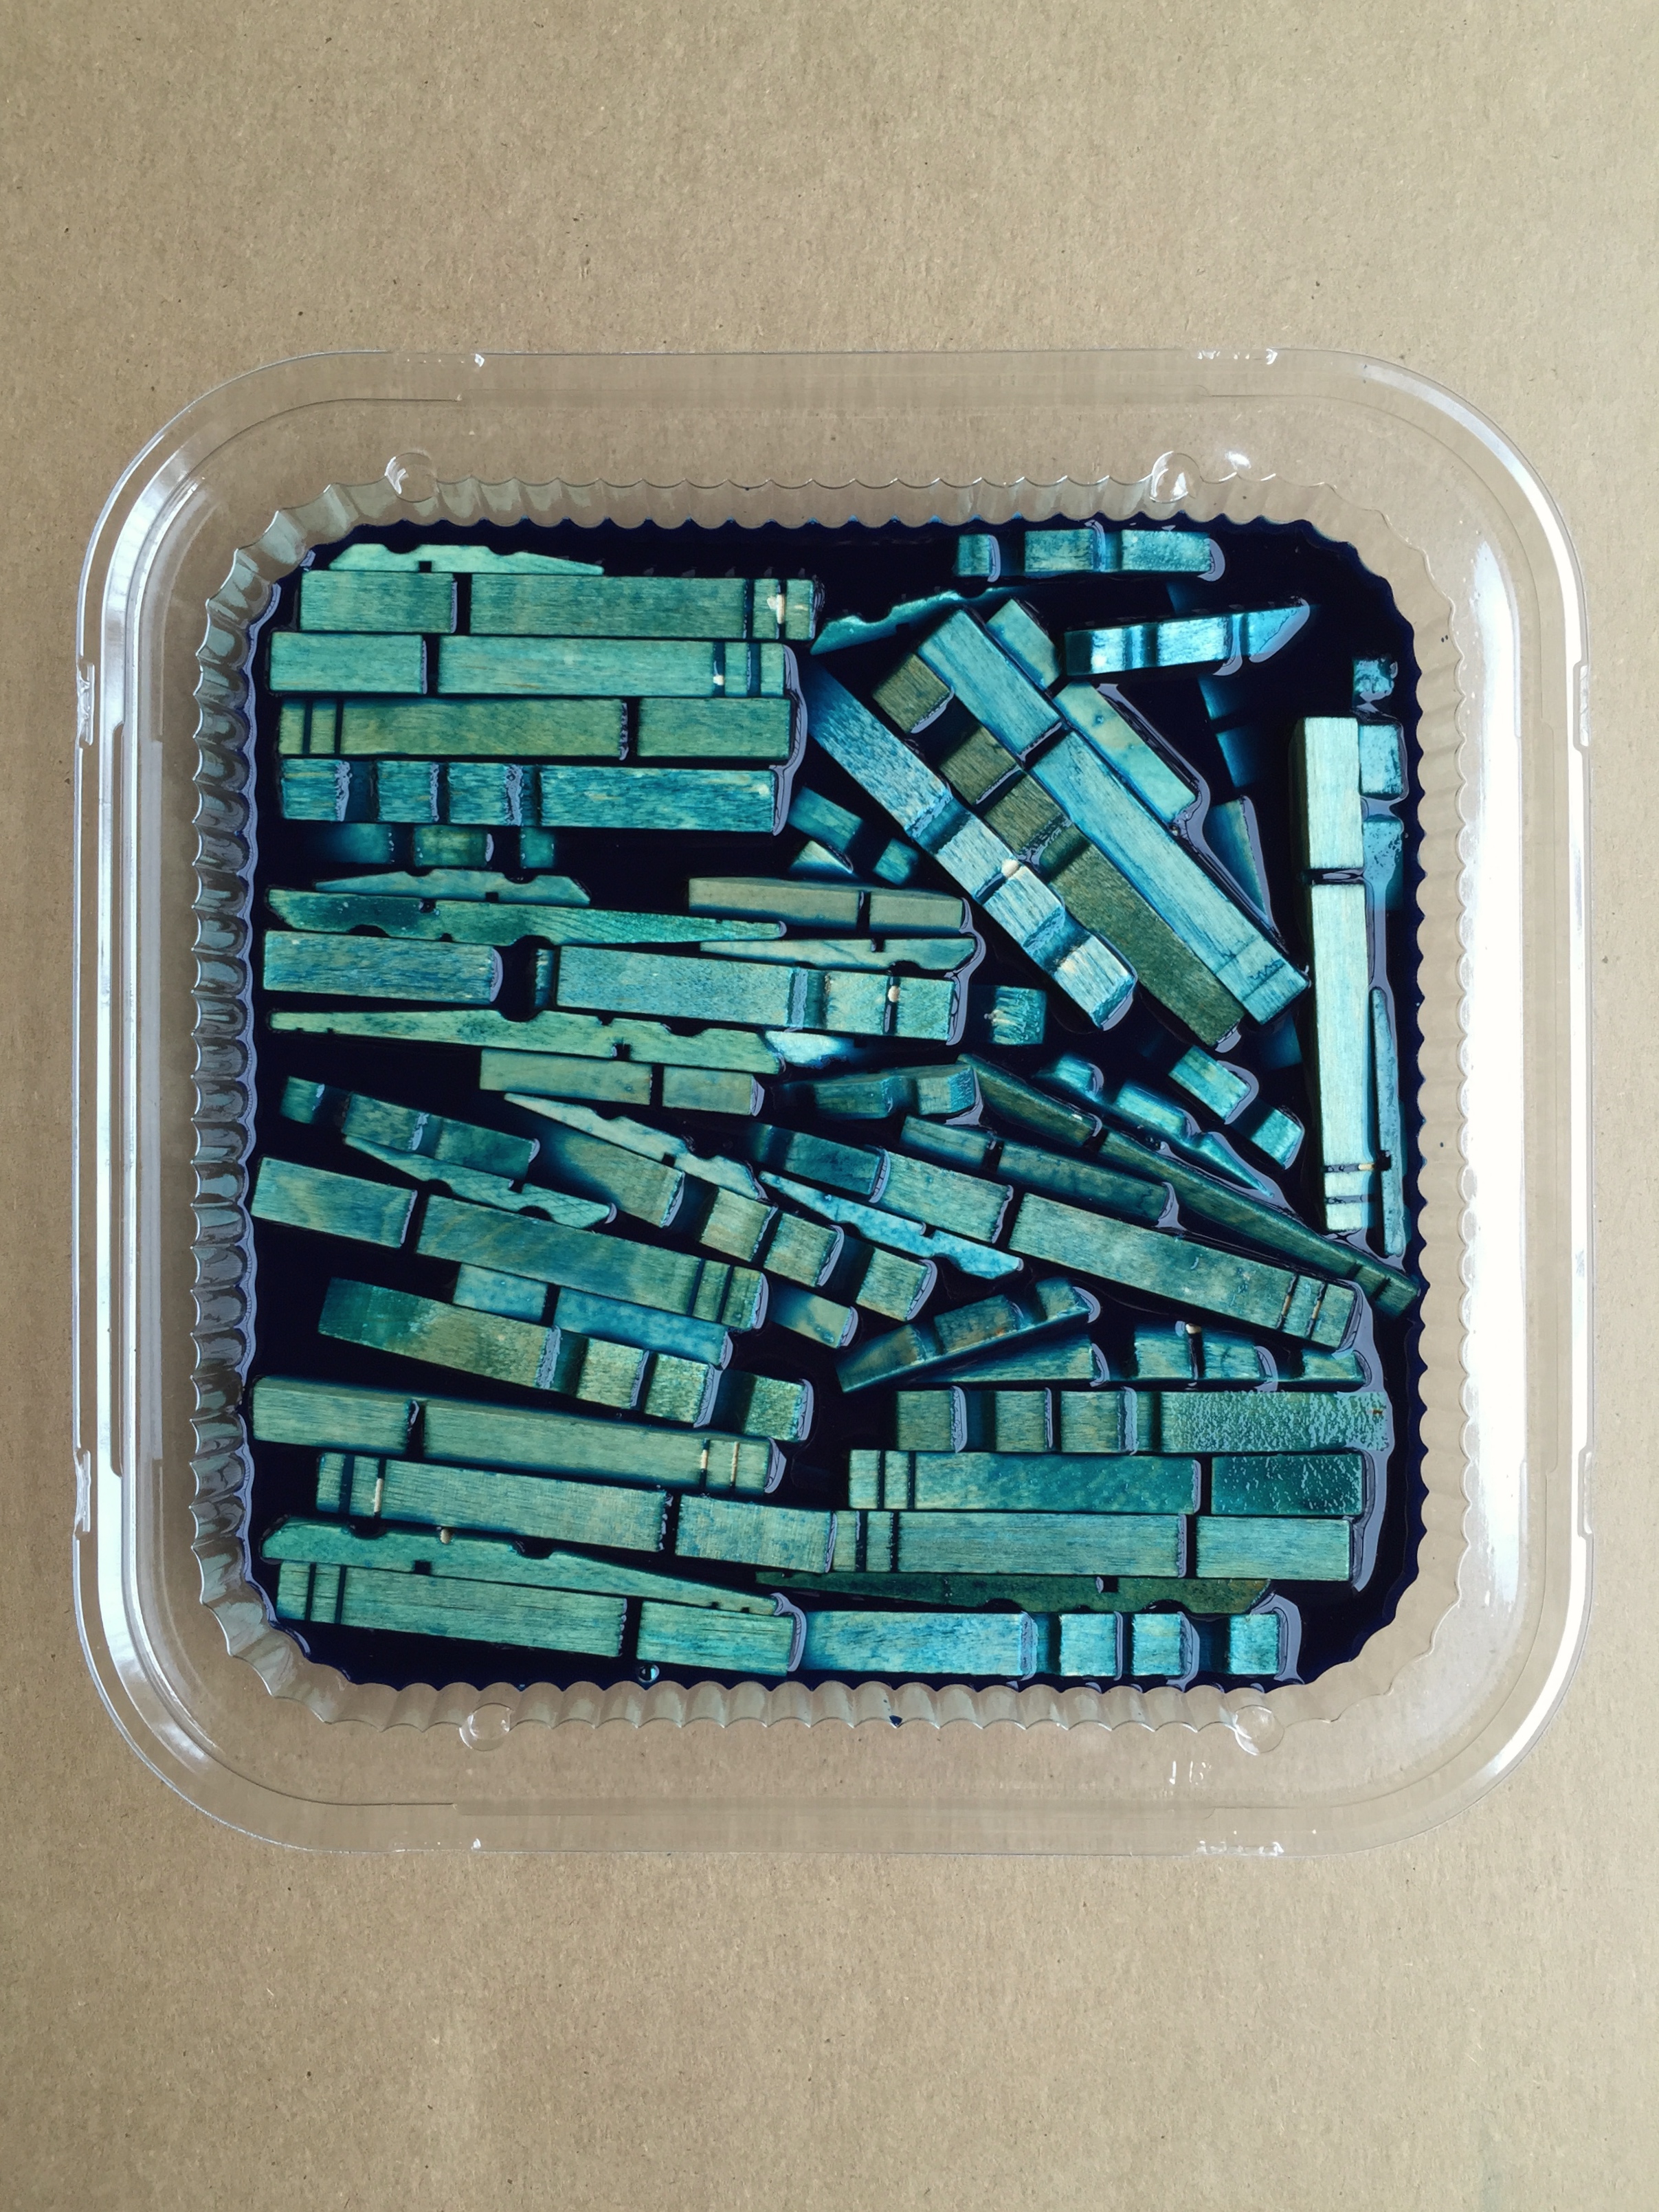
Place all of your clothespins into the dye bath. You can add a little more water, if needed to cover the clothespins, but adding too much water will really dilute your color. I let the clothespins sit and soak for about 3 hours. I then pulled the clothespins out of the dye bath and gave them a quick rinse under water before laying them out on an old baking sheet. Let dry overnight.
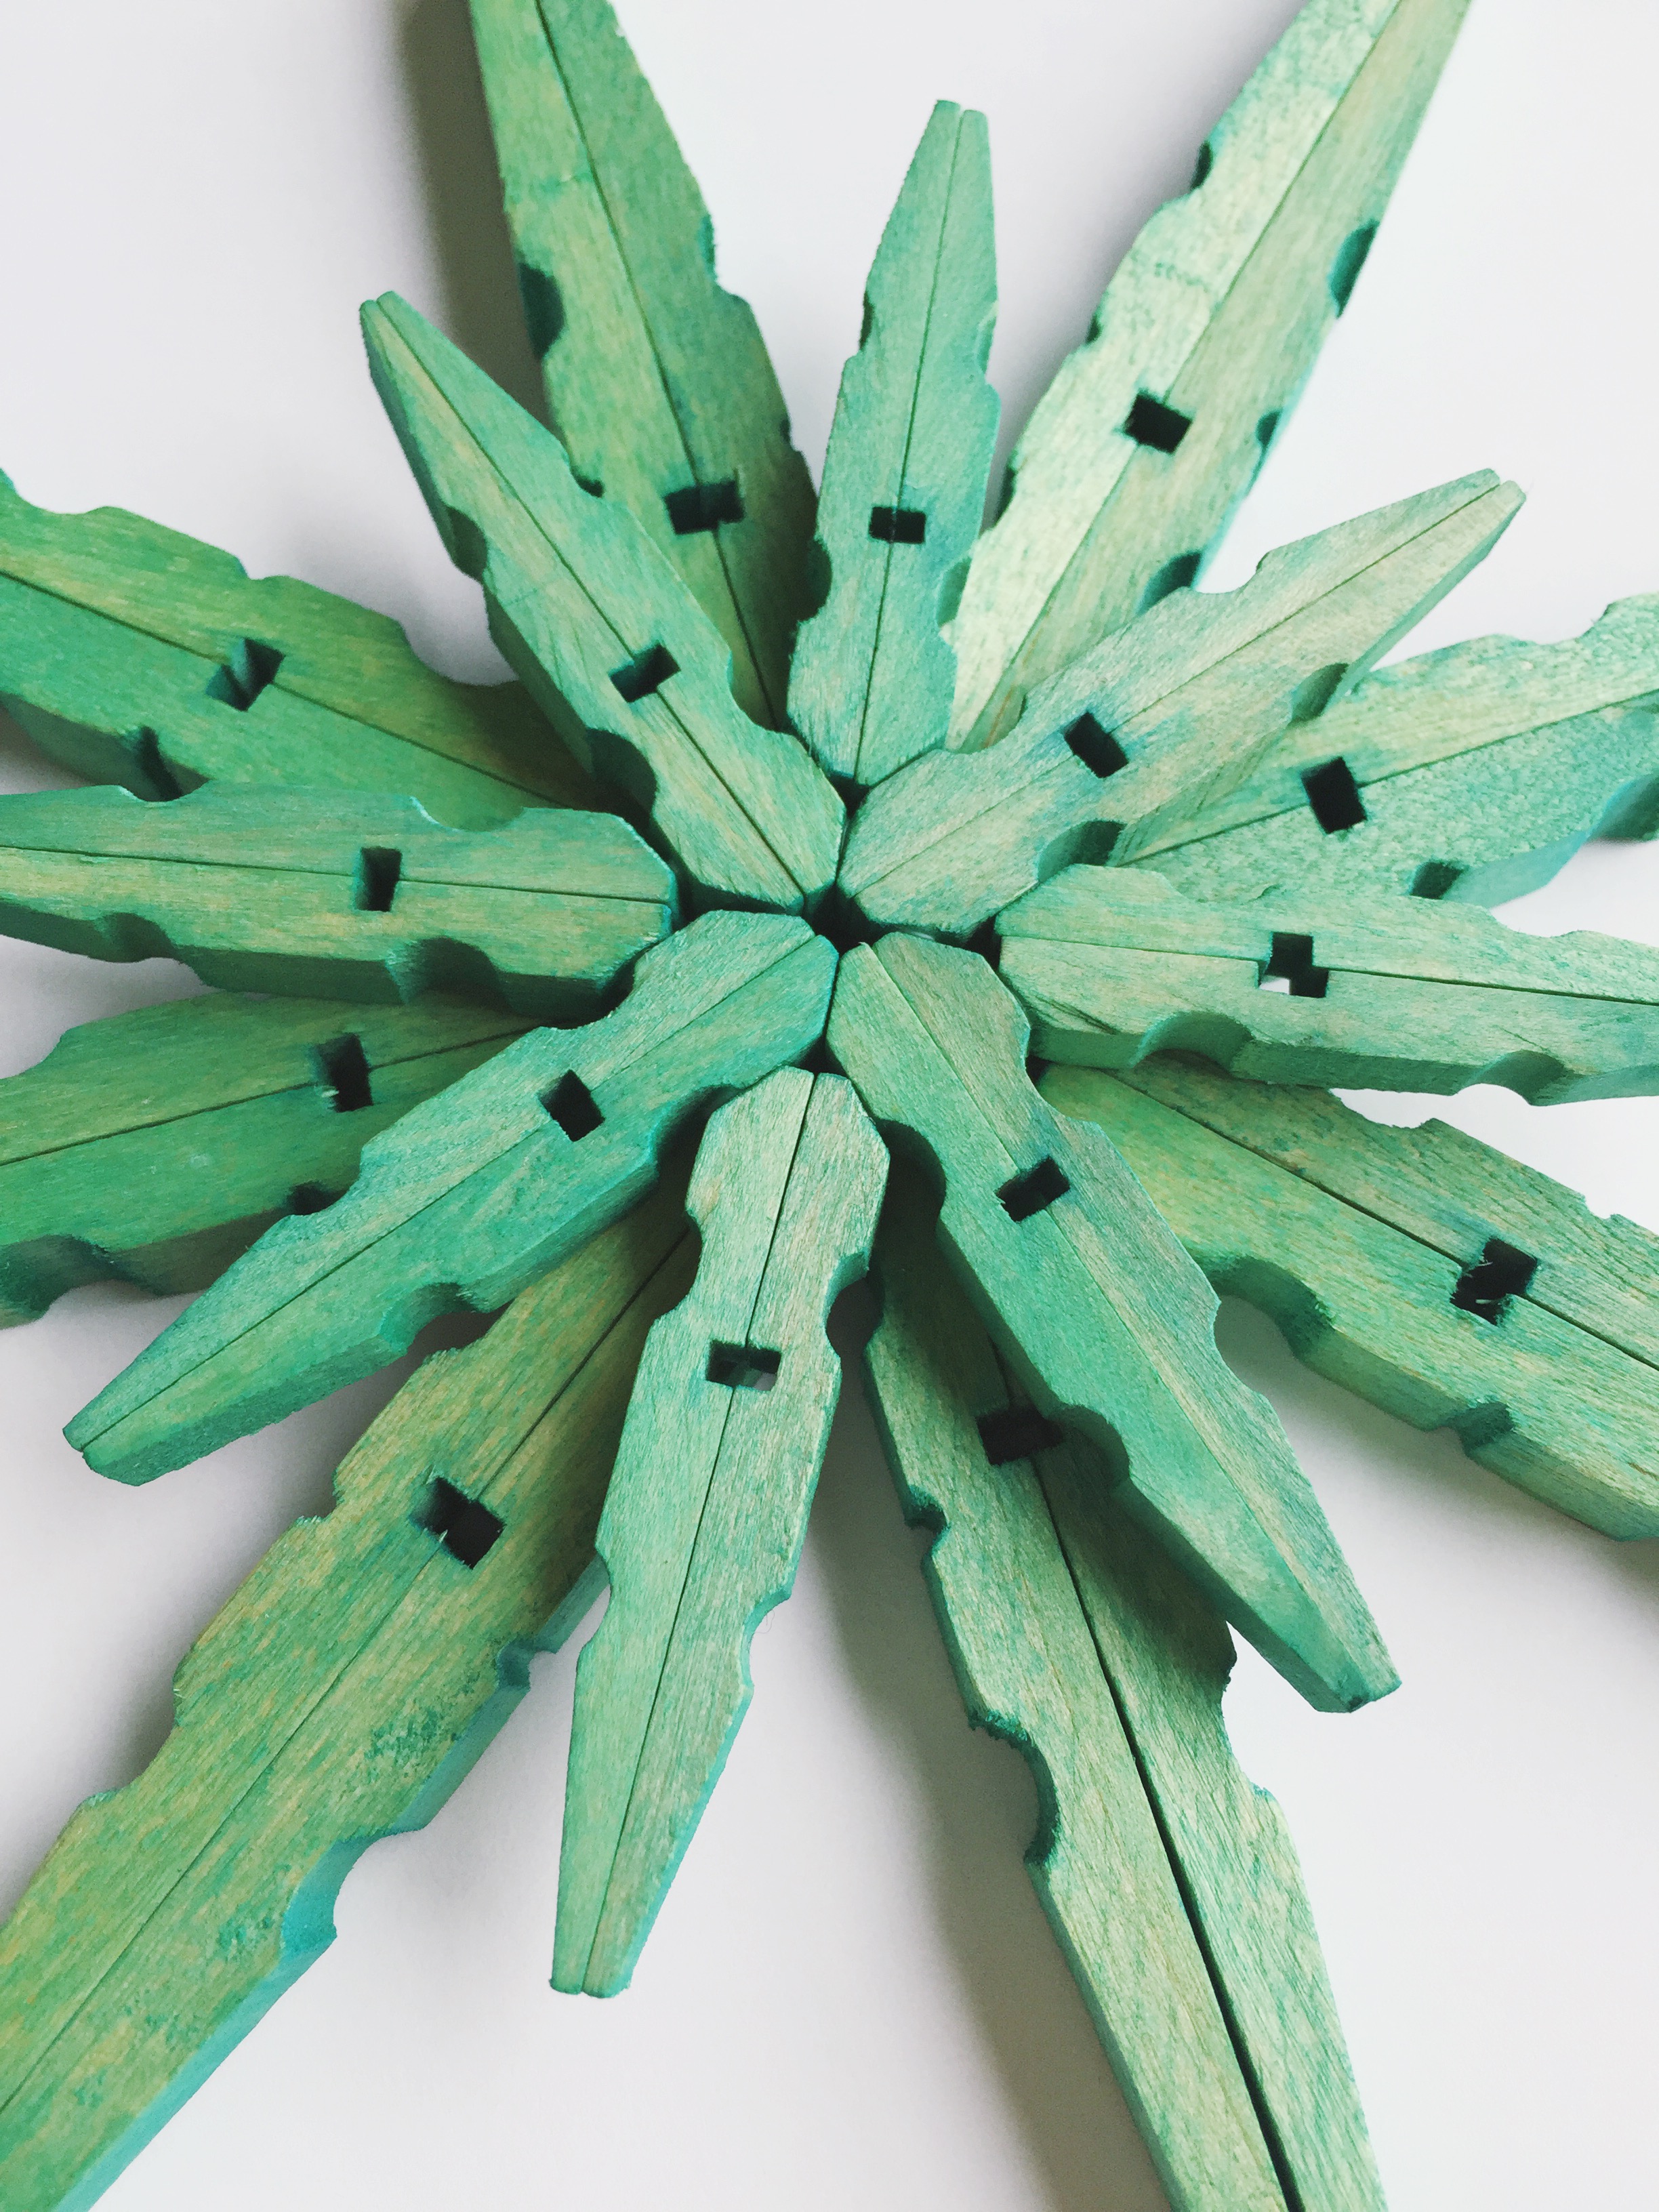
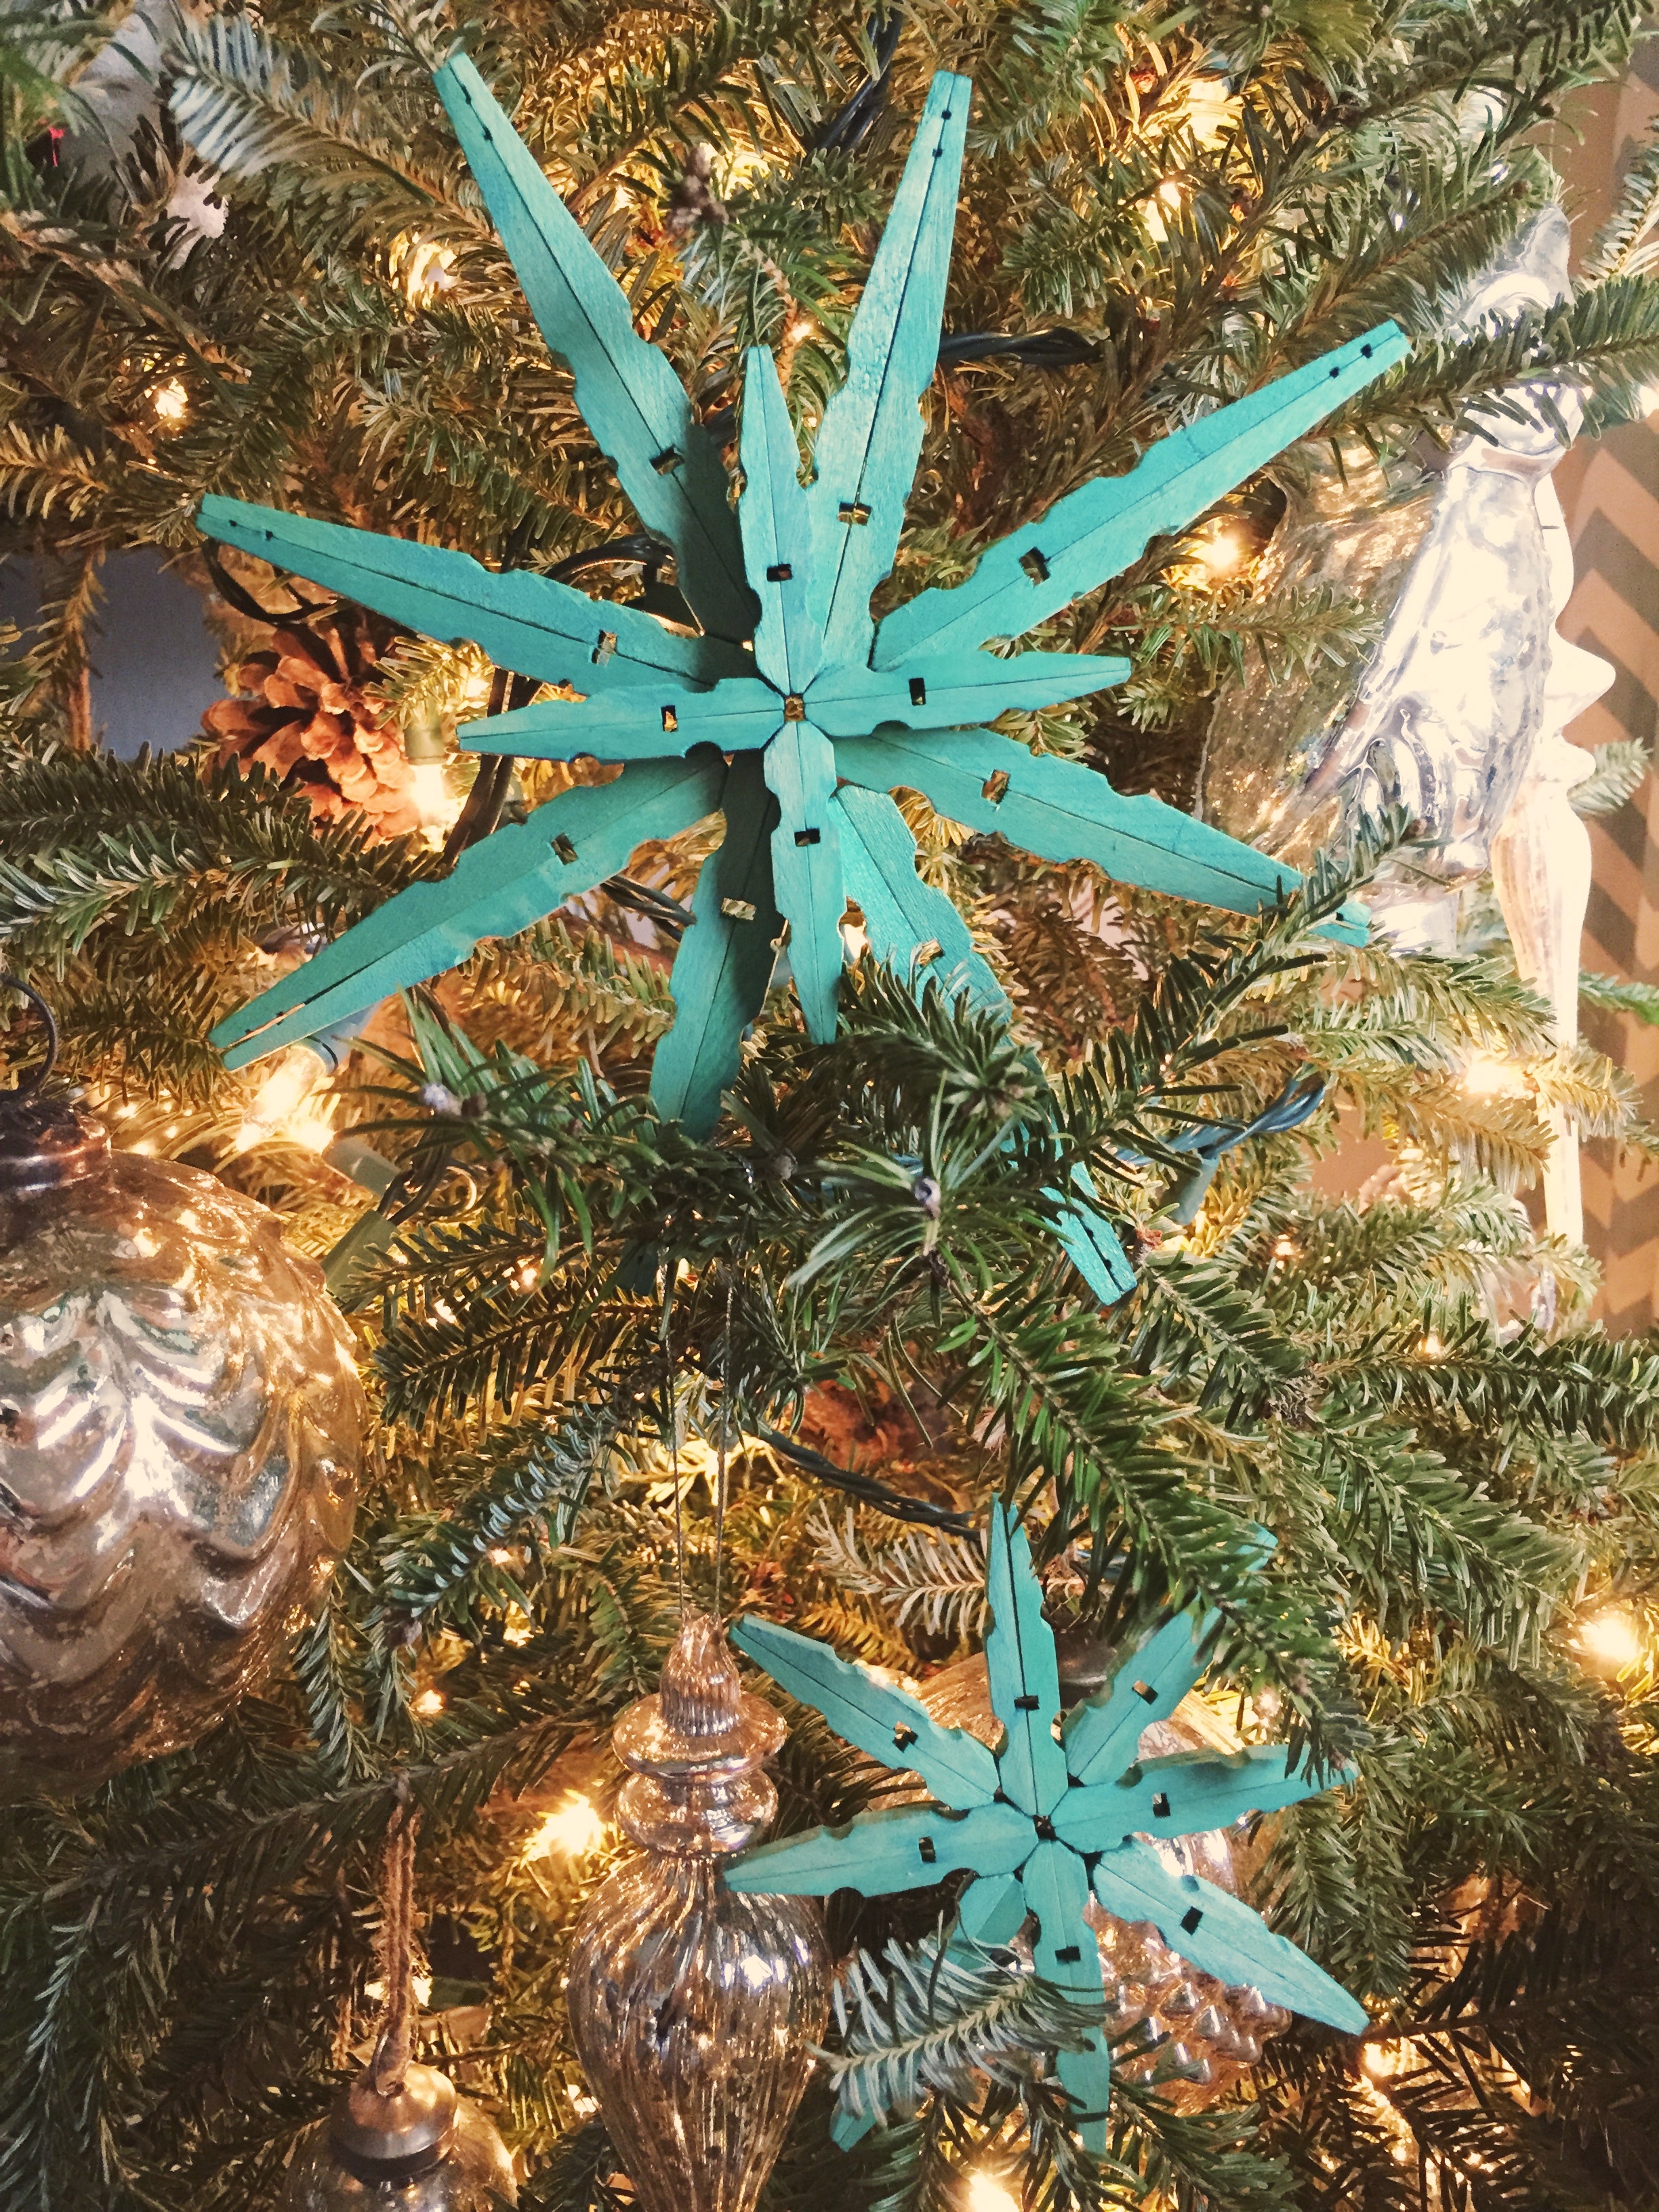
After the clothespins have dried, begin assembling the snowflakes! Align the flat sides of the clothespins and use glue to attach the two pieces. After all of these couples are assembled, attach four of these pieces together at the small angle end to make a cross.

Place the four remaining pieces into each corner. If you want, use a little glue to attach a hanger to the back of each snowflake. I personally think they look perfect just propped into the tree!

WOW, that’s creative!
Such a sweet idea..