

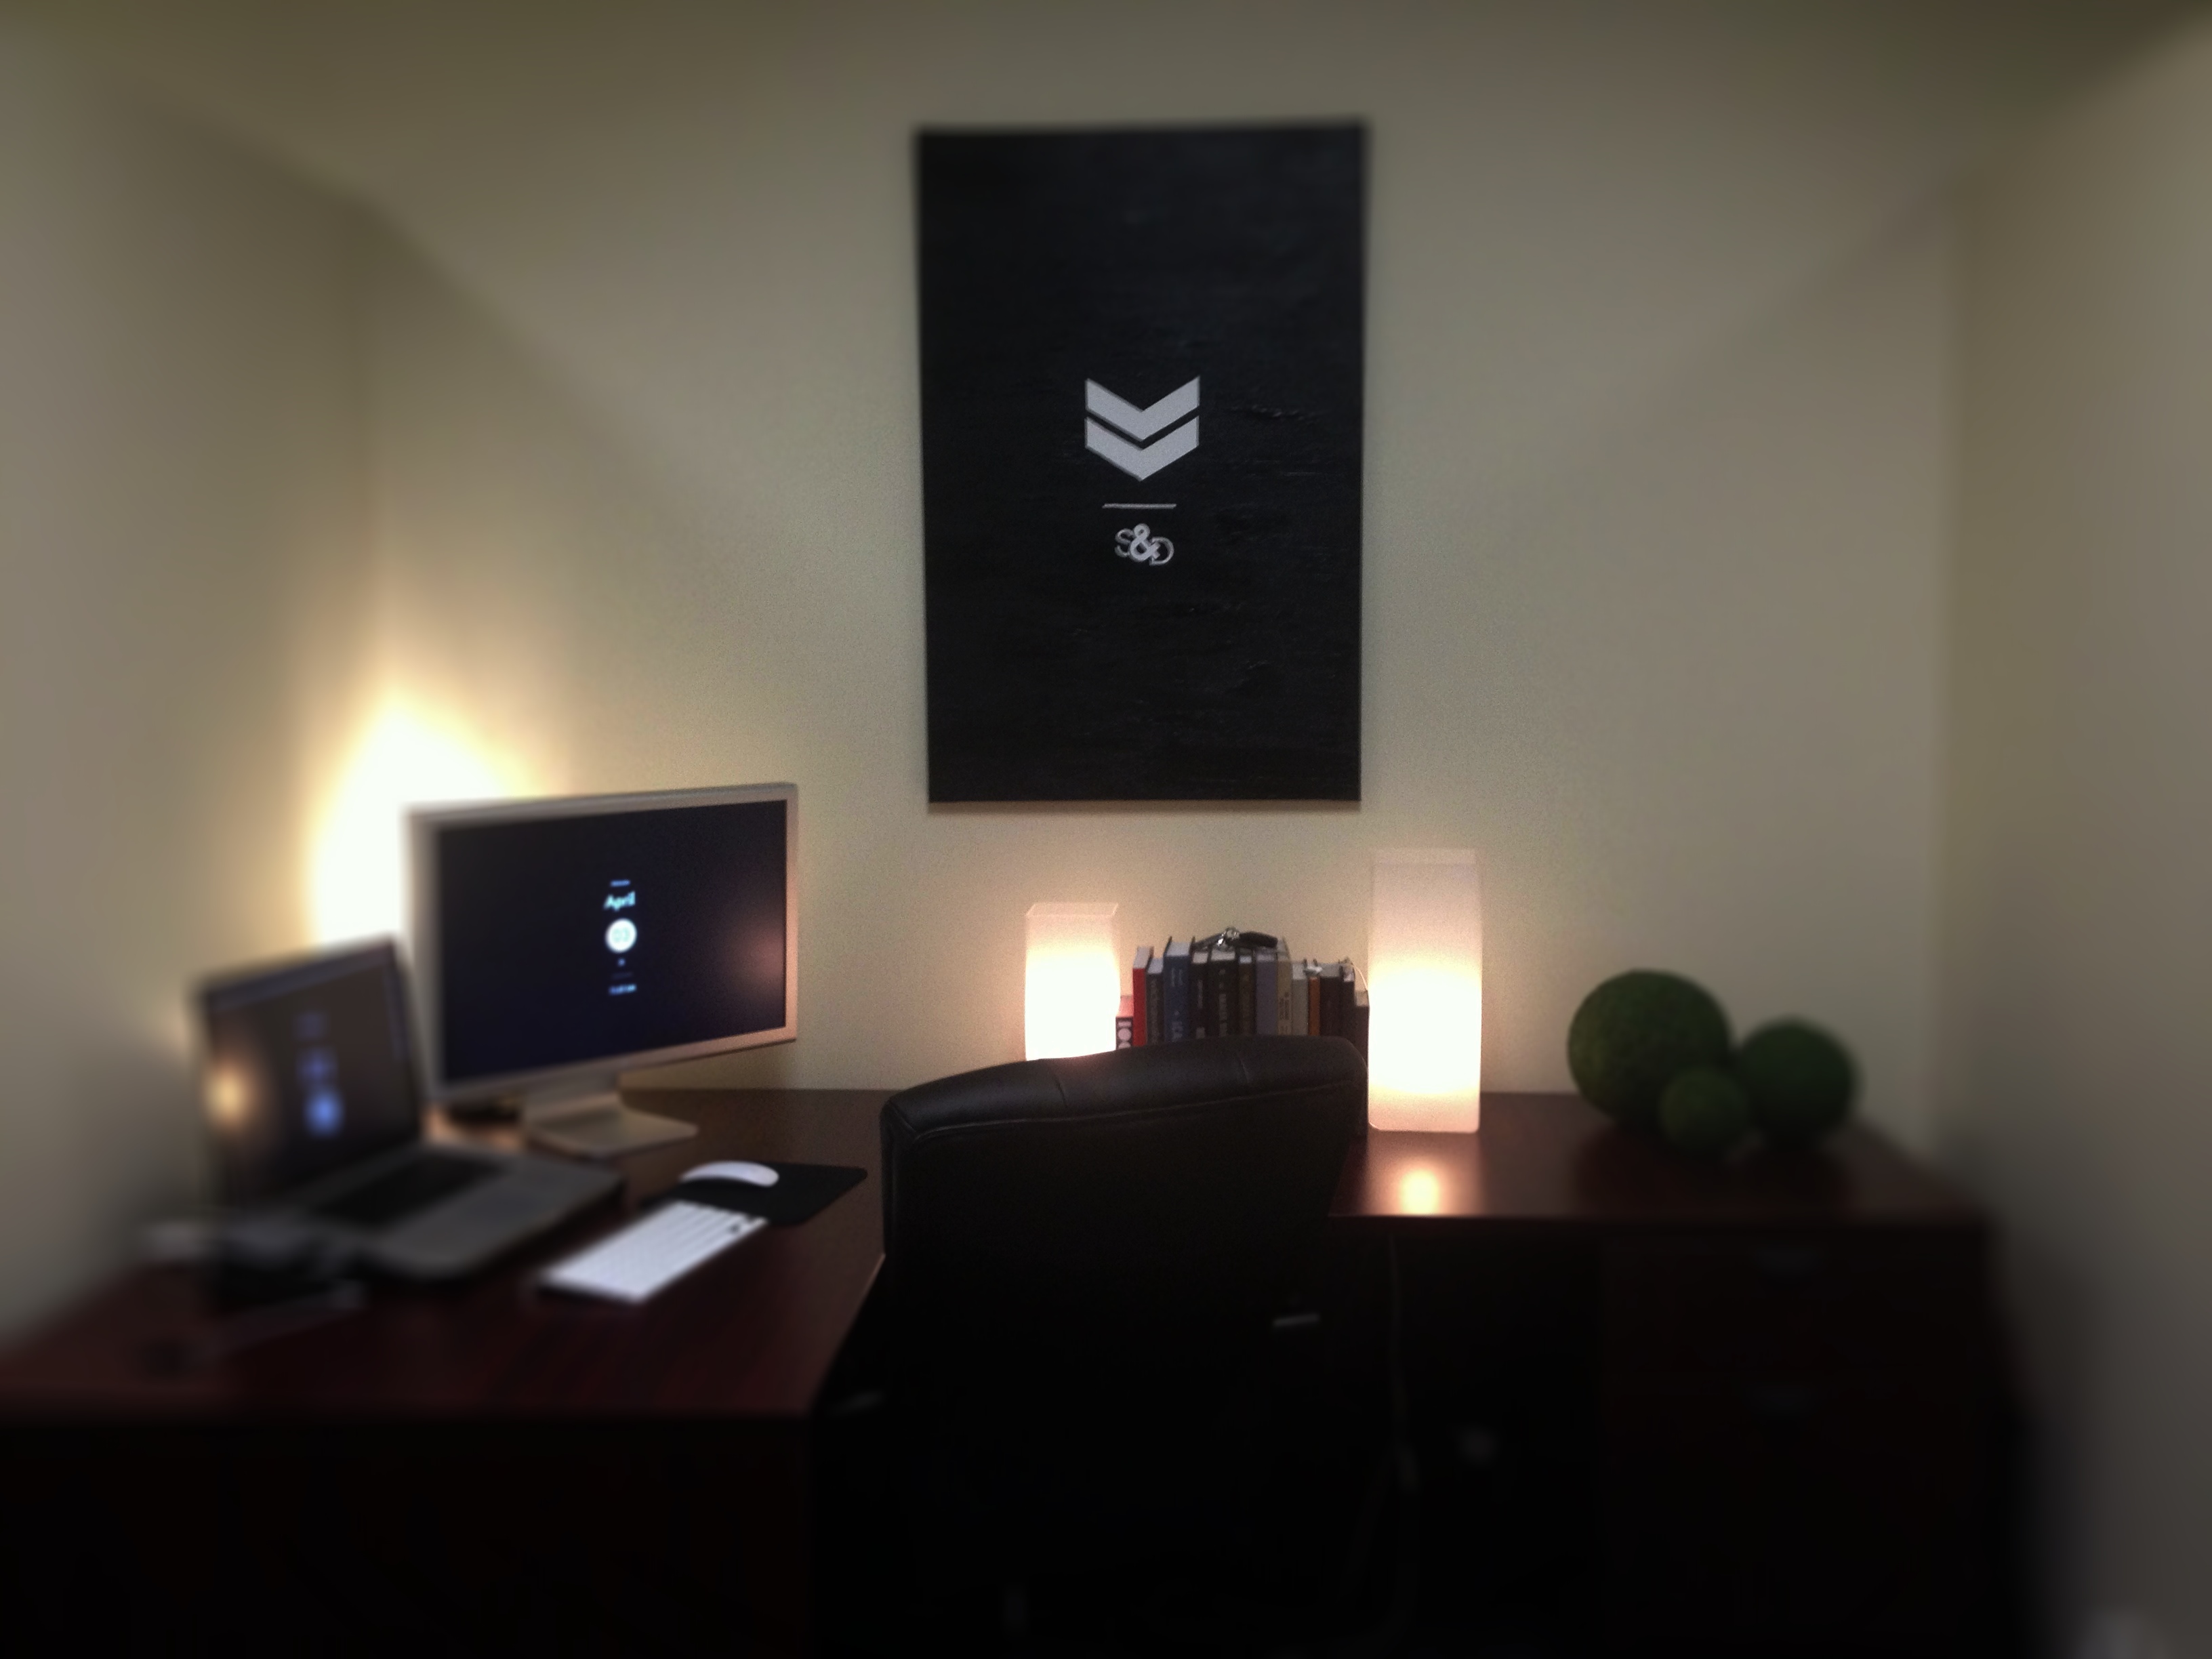
I used this method last year to create a piece of artwork for our bedroom, which featured several lines of text and deep colors. This newest piece has a more simple, bold design. Drew had requested a unique art piece for his office and he designed the graphics that I used to create it. It’s a combination of chevron and our initials. I love it!
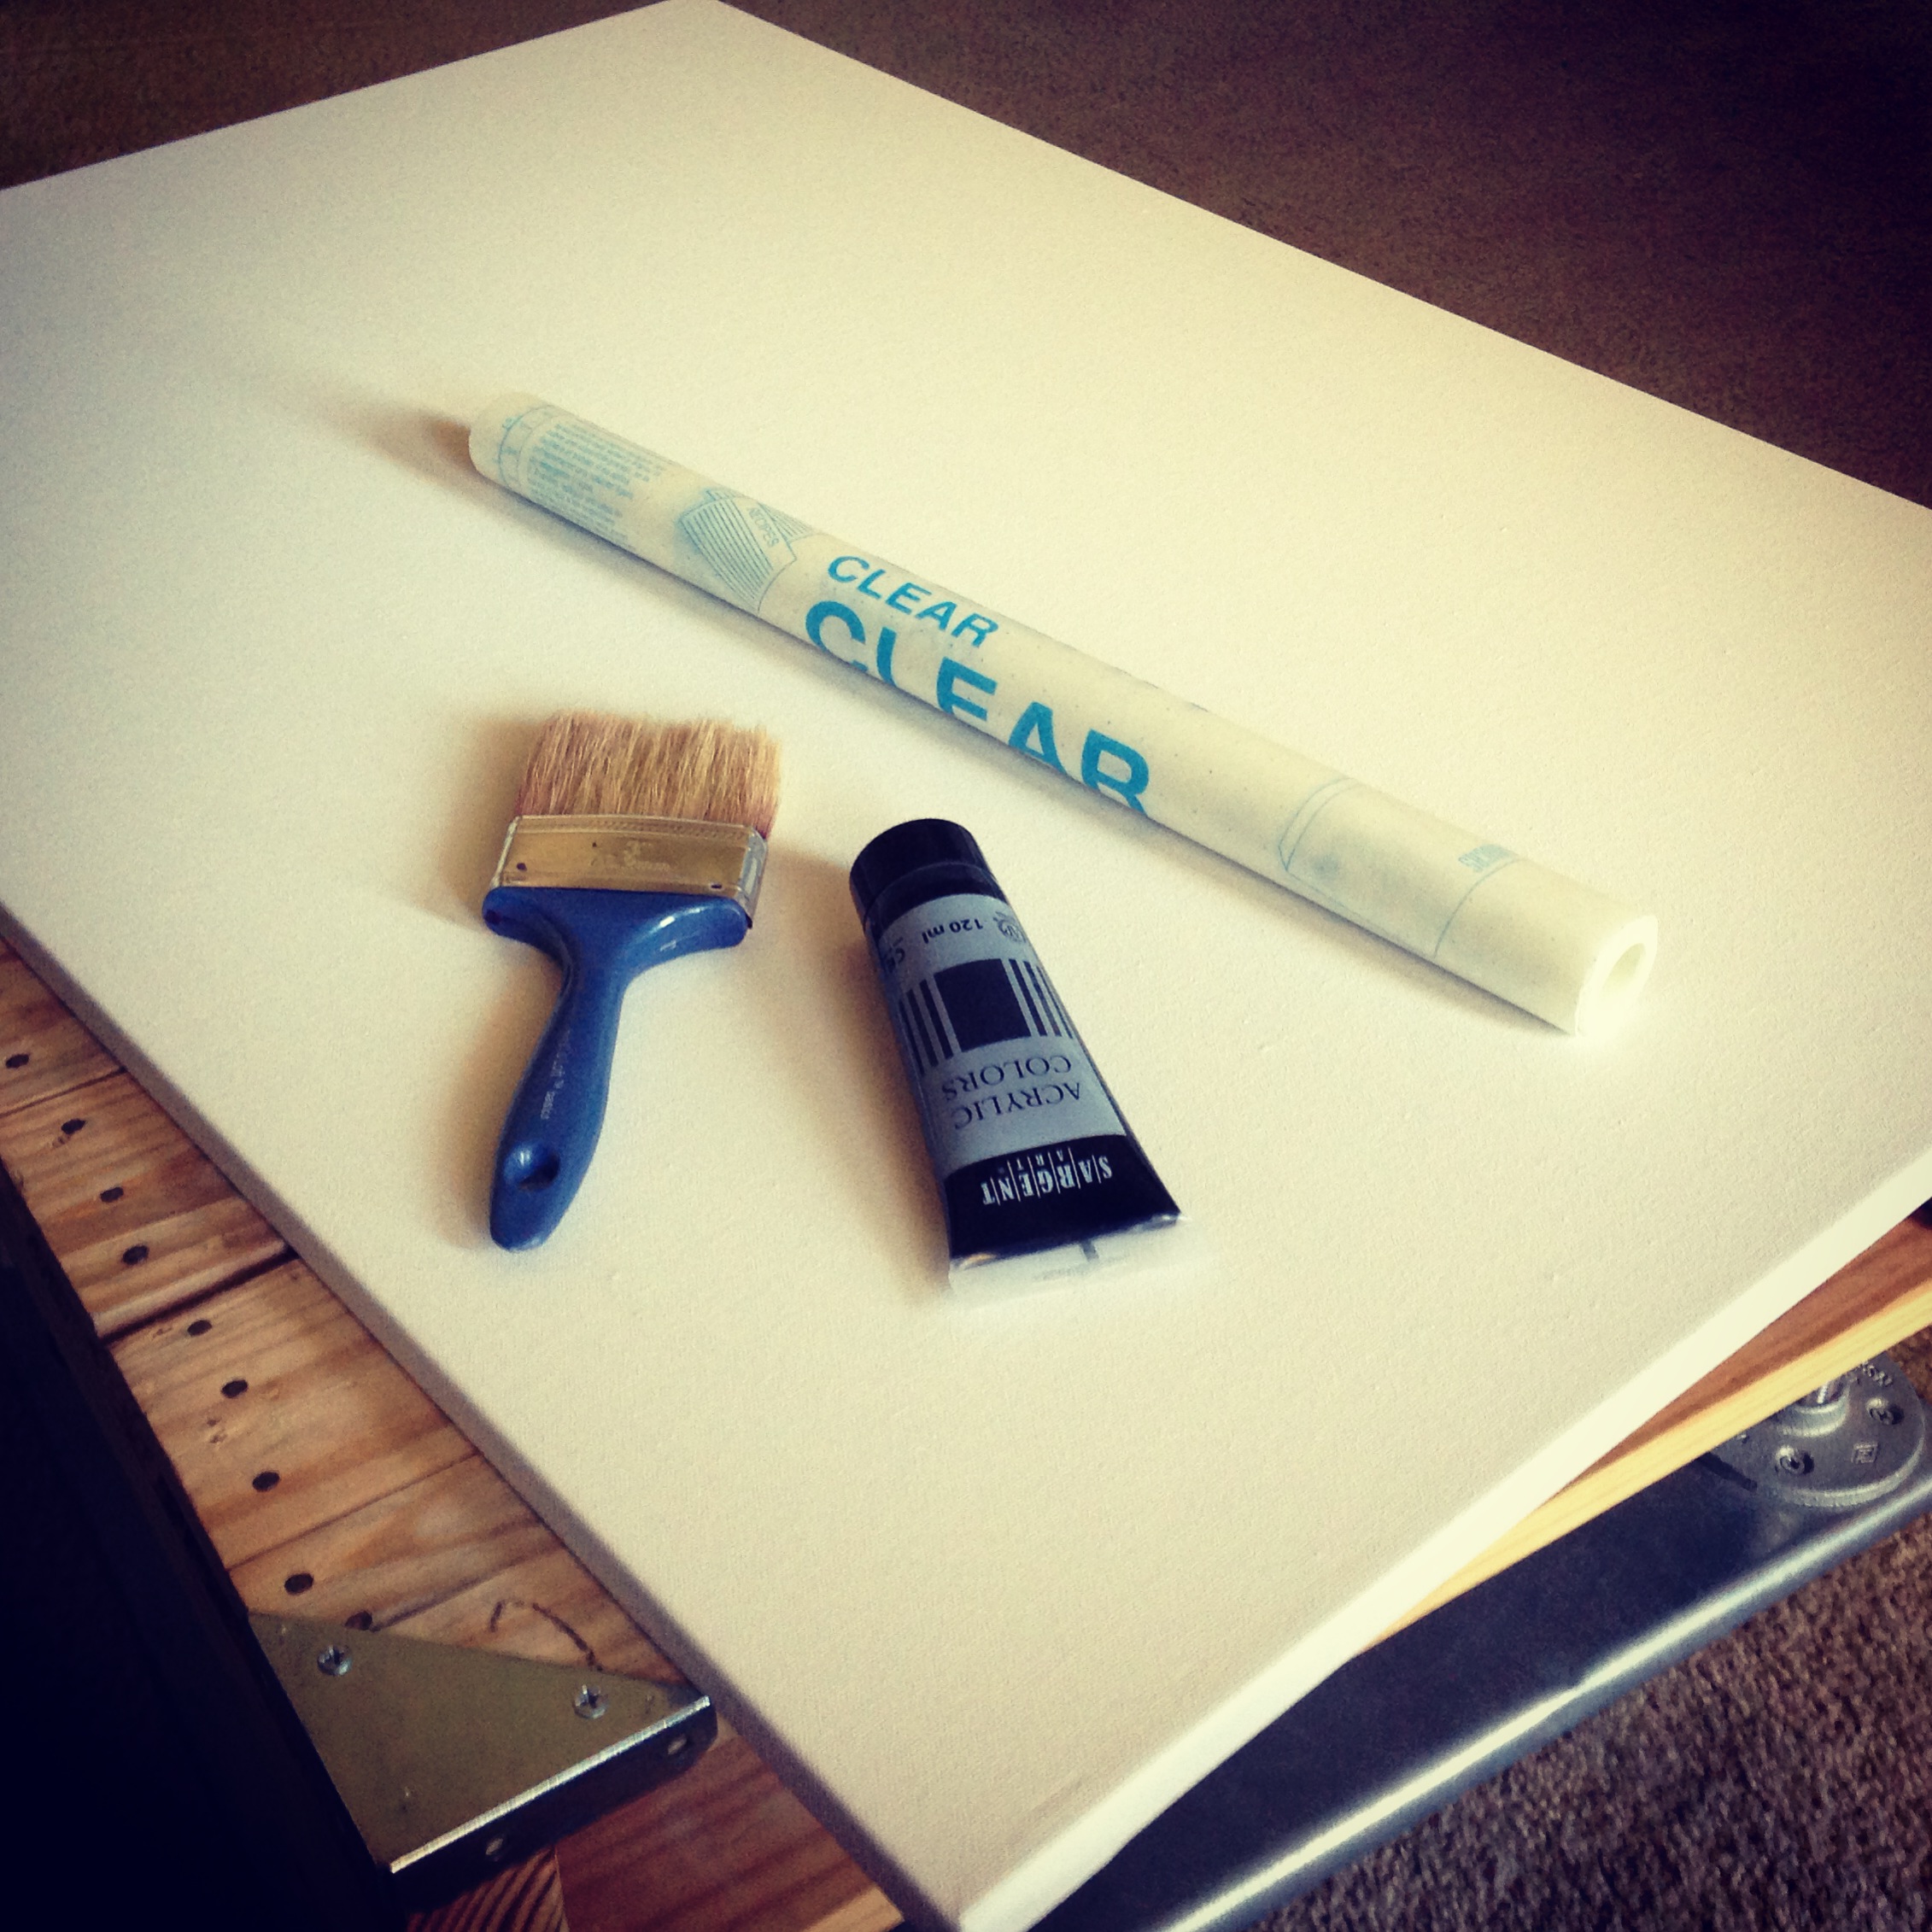
Needed:
- Blank Wrapped Canvas (any size)
- Contact Paper
- Paint
- Paint brush and/or sponge brush
- Stencil (or any design that you’d like on your artwork)
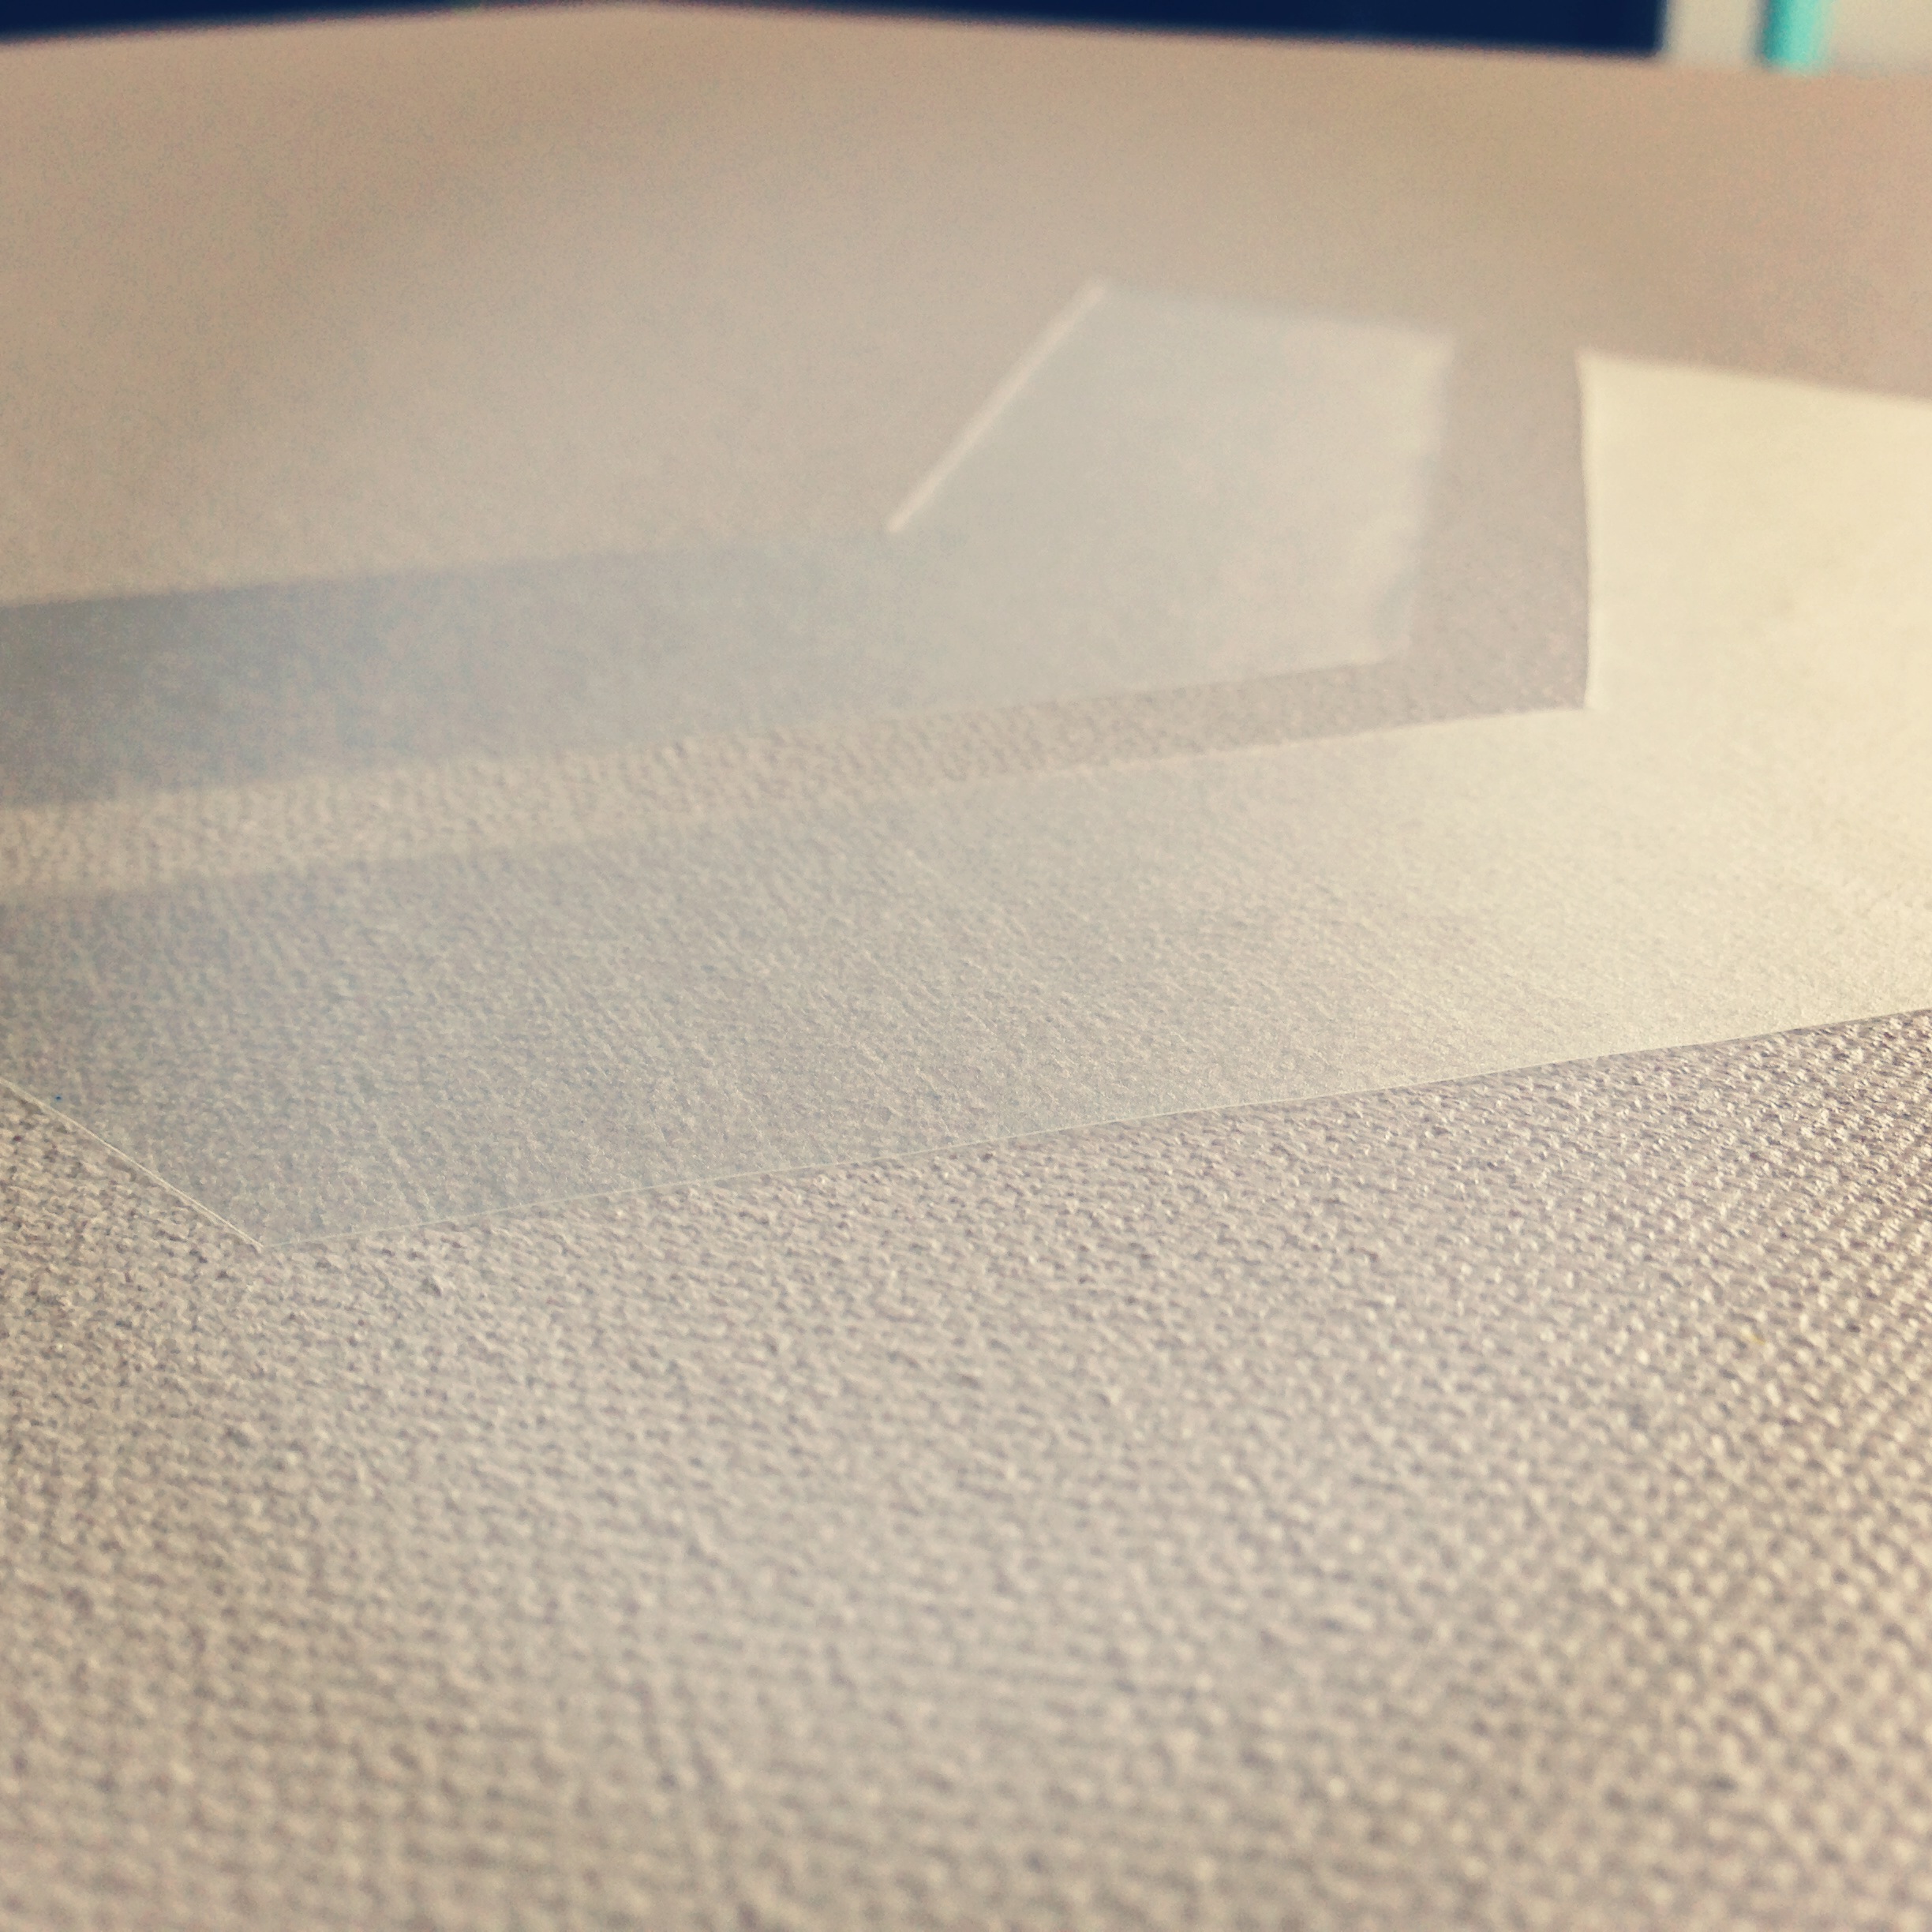
Trace out your design onto the paper backing of the contact paper. Important! Make sure to flip your stencil over to trace out your design backwards (this is most important if using letters or numbers).
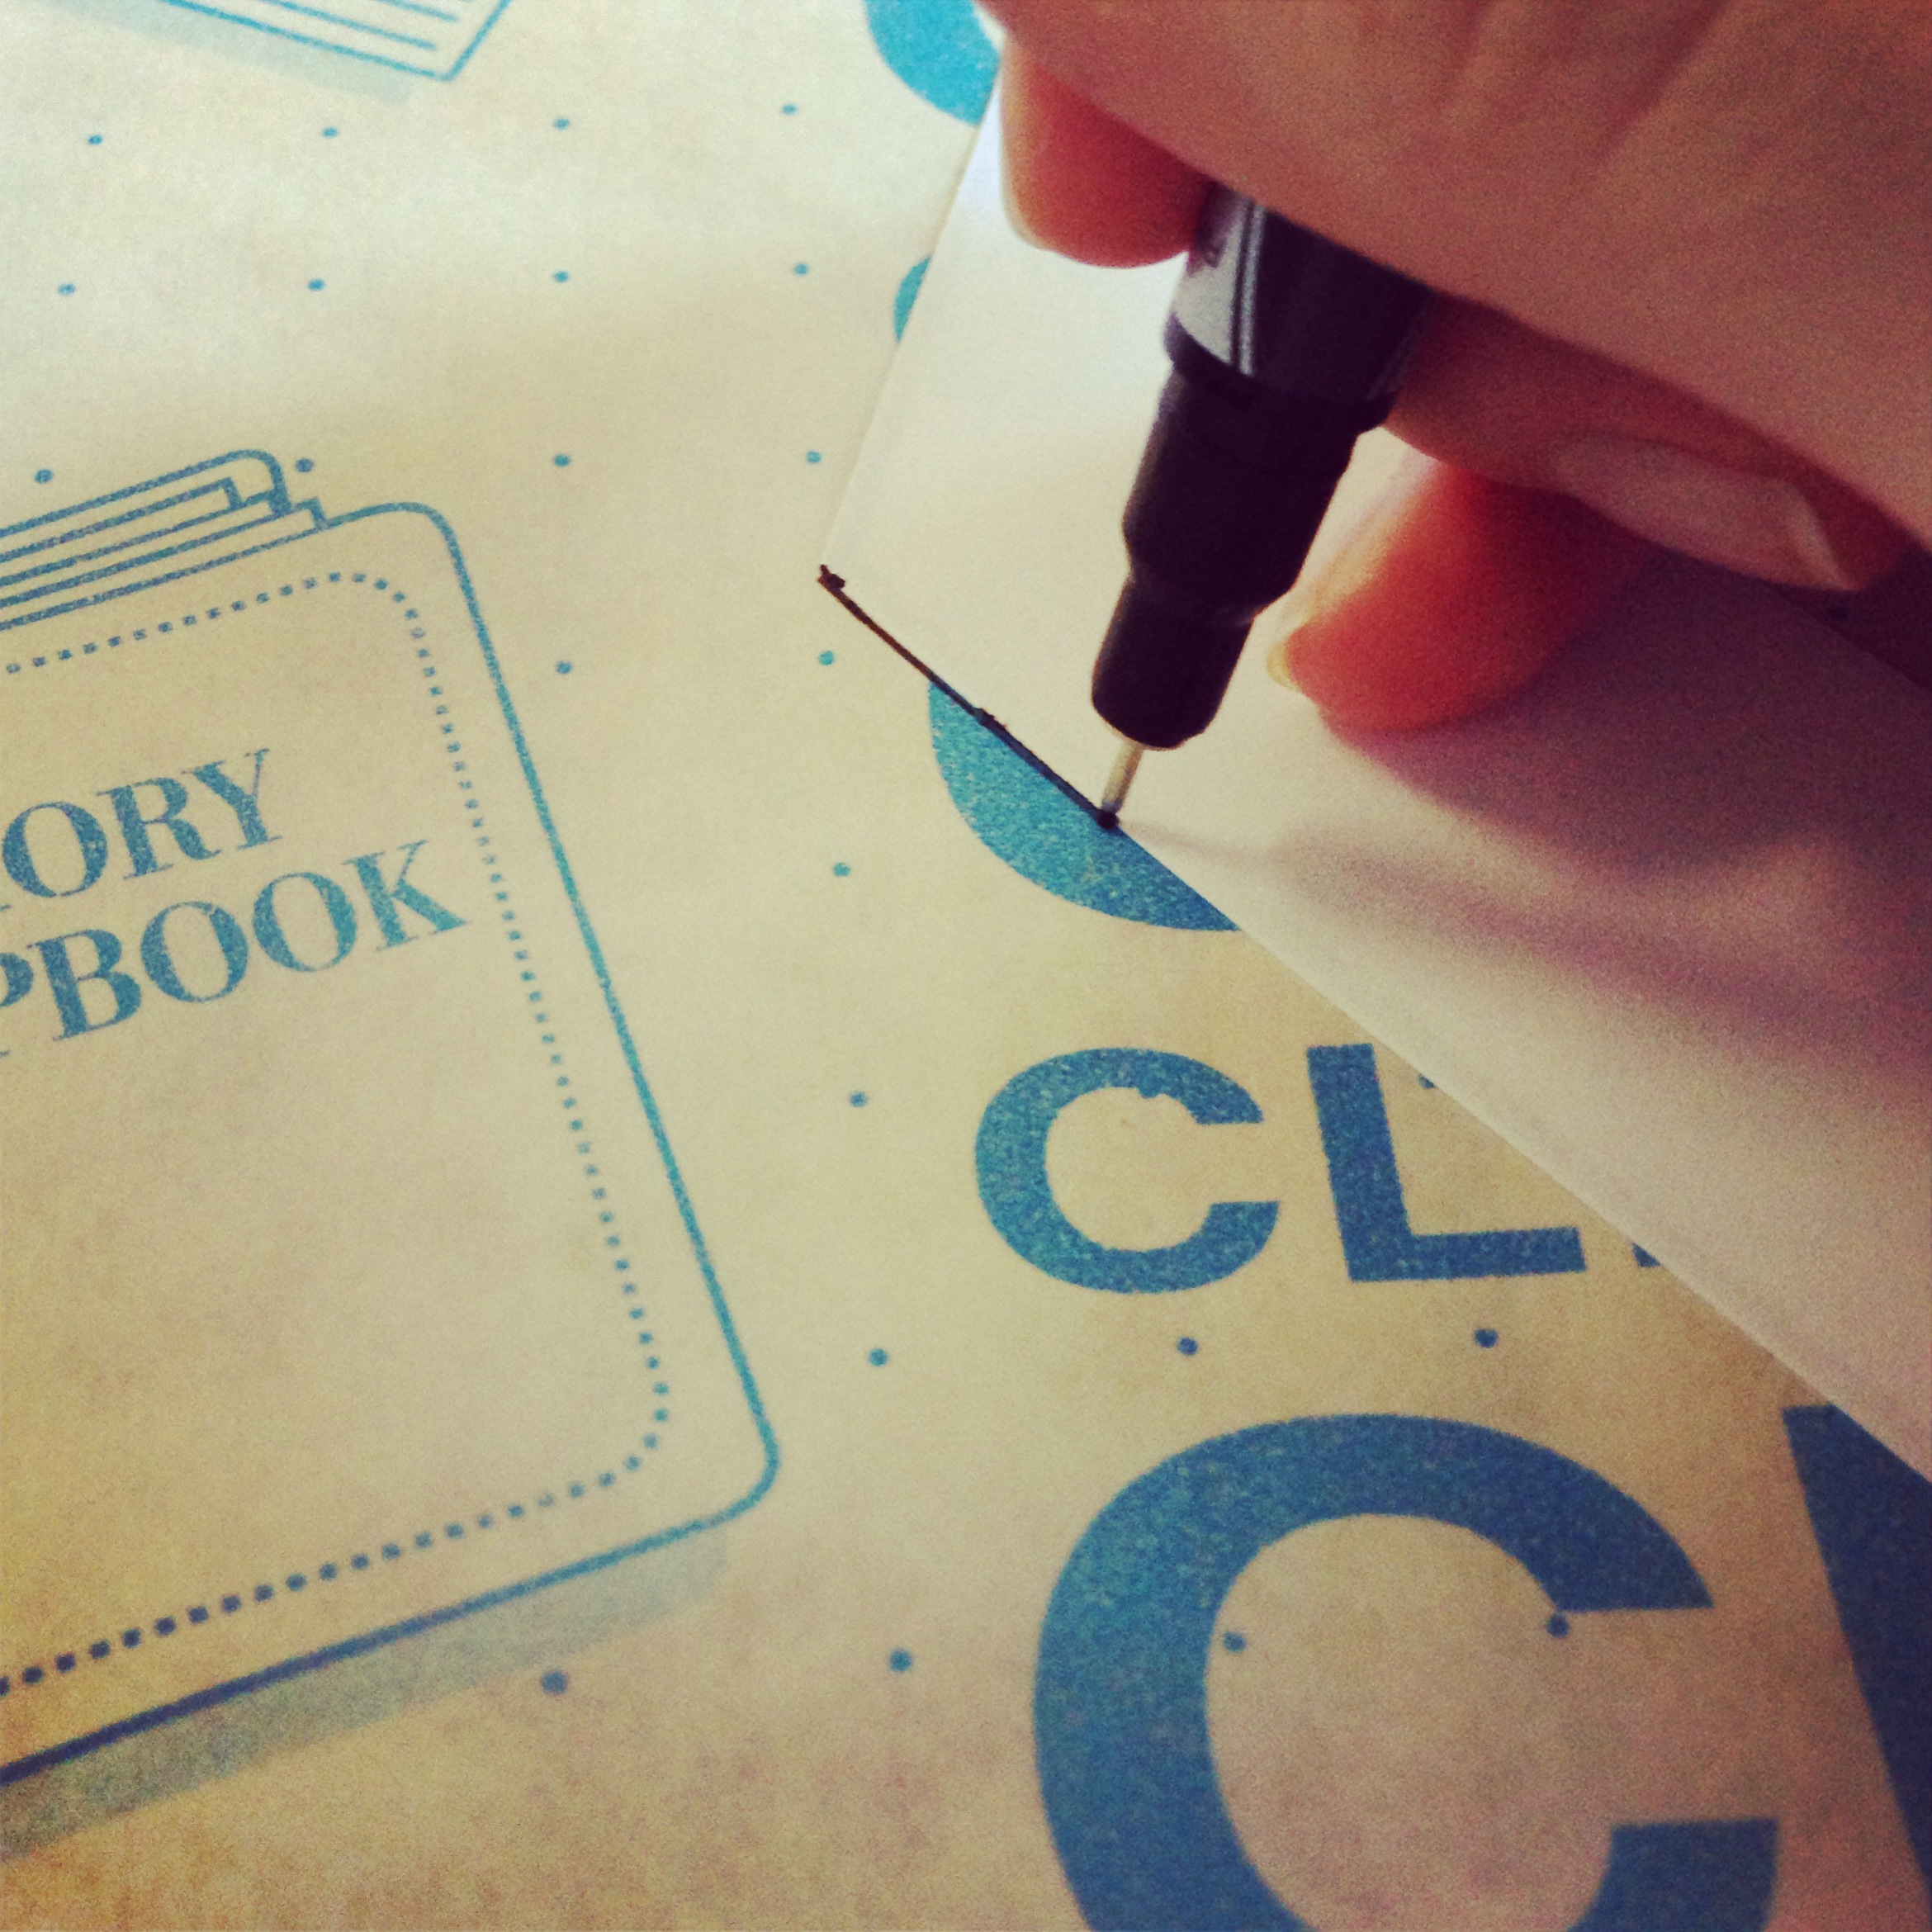
Cut out all of the pieces to your design. Flip cut-outs over (letters should now be legible). Lay pieces out on canvas to decide exactly where you’d like them to be placed. One at a time, peel off the paper backing and apply to canvas.
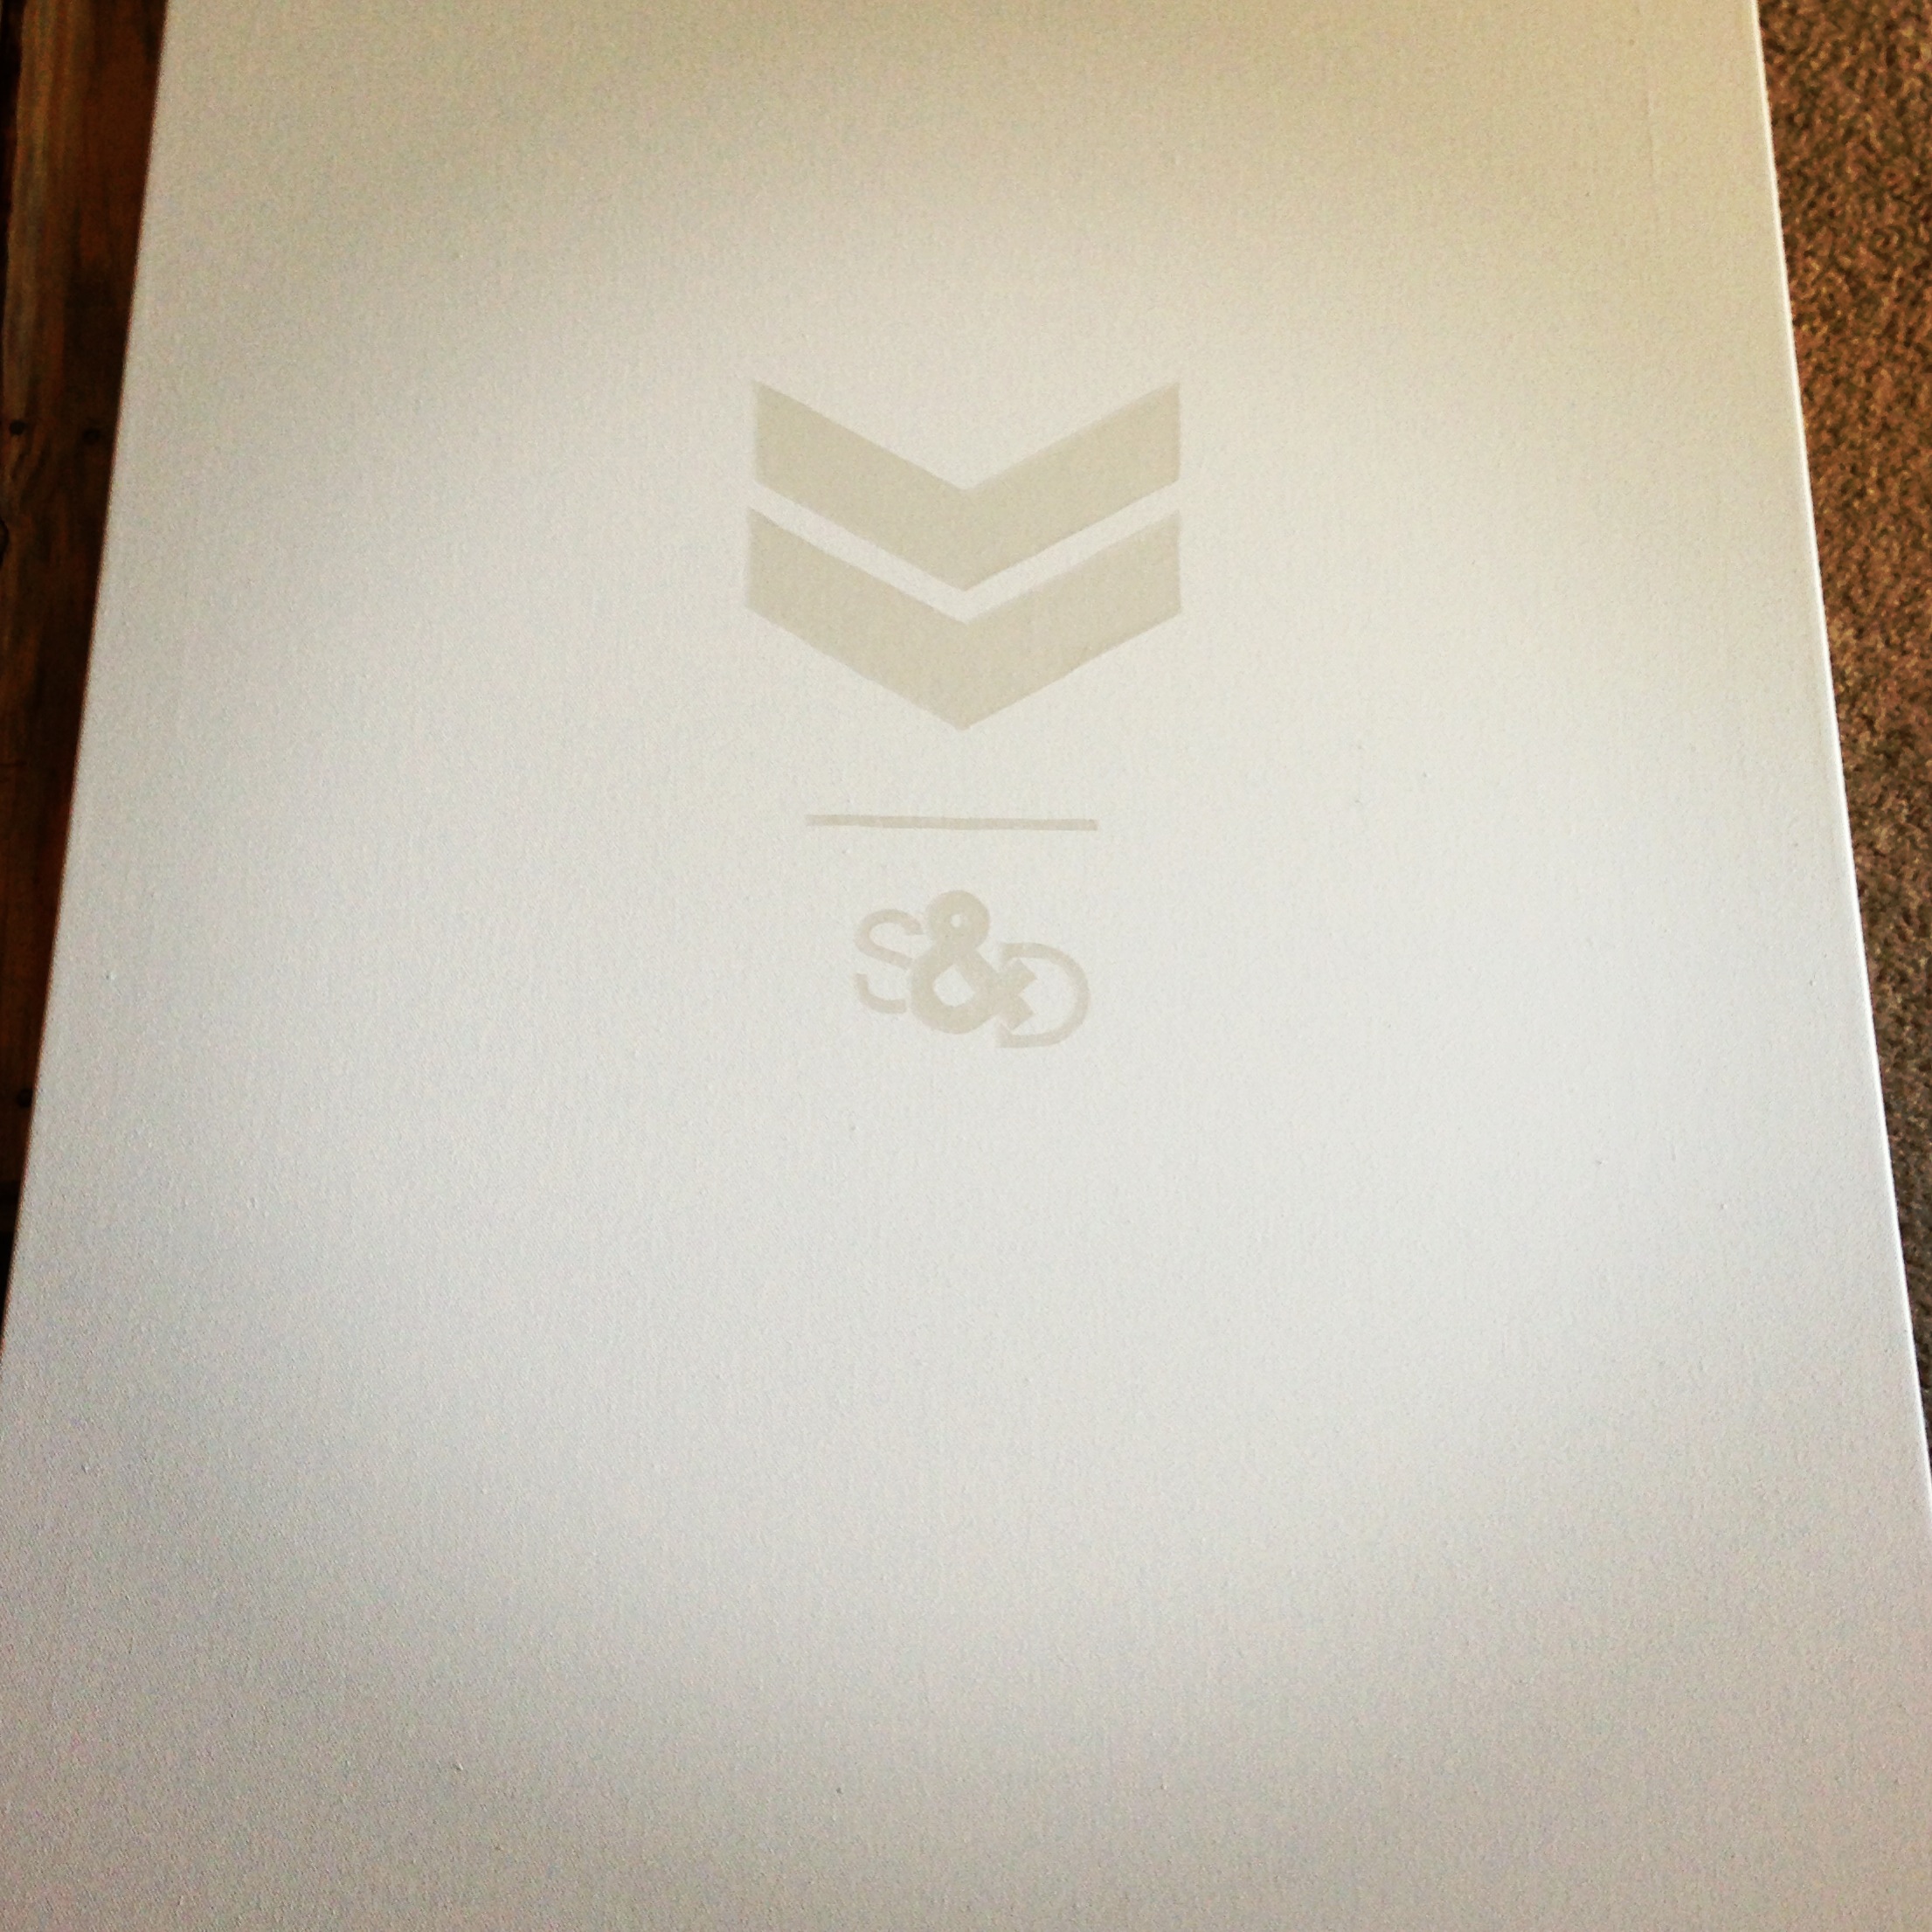
Contact paper isn’t super sticky, which makes it perfect for this project, it won’t leave behind sticky residue! Keep your design pressed flat, place magazines over design to keep edges from pulling away from the canvas.
Now, paint! Prop your canvas over a cardboard box or storage container for easier painting. Lightly paint over your graphics to help prevent paint seepage. If using several colors, let each layer dry before adding a new one. Don’t forget about the edges if your canvas.

As hard as it may be, it really is best to wait until canvas is 100% dry before you peel off your design.
And there you have it, such an easy way to create a unique piece of artwork for your space!

Looks really nice! I have not seen this method yet, so thank you! I have seen the “cover the canvas with a shower curtain” method (which also looks nice…). Gets me thinking – bet you could also use a stencil, too. I do like yours because it’s custom & you can really do anything you want…